Networking with a Base Station
Most Herons come with a base station. This is a portable, weather-proof unit that includes a long-range wireless antenna, as well as ethernet ports allowing LAN and WAN connections.
If your Heron shipped with a base station, the robot and base station will come pre-configured to operate with each other.
Connecting the Base Station to the Internet
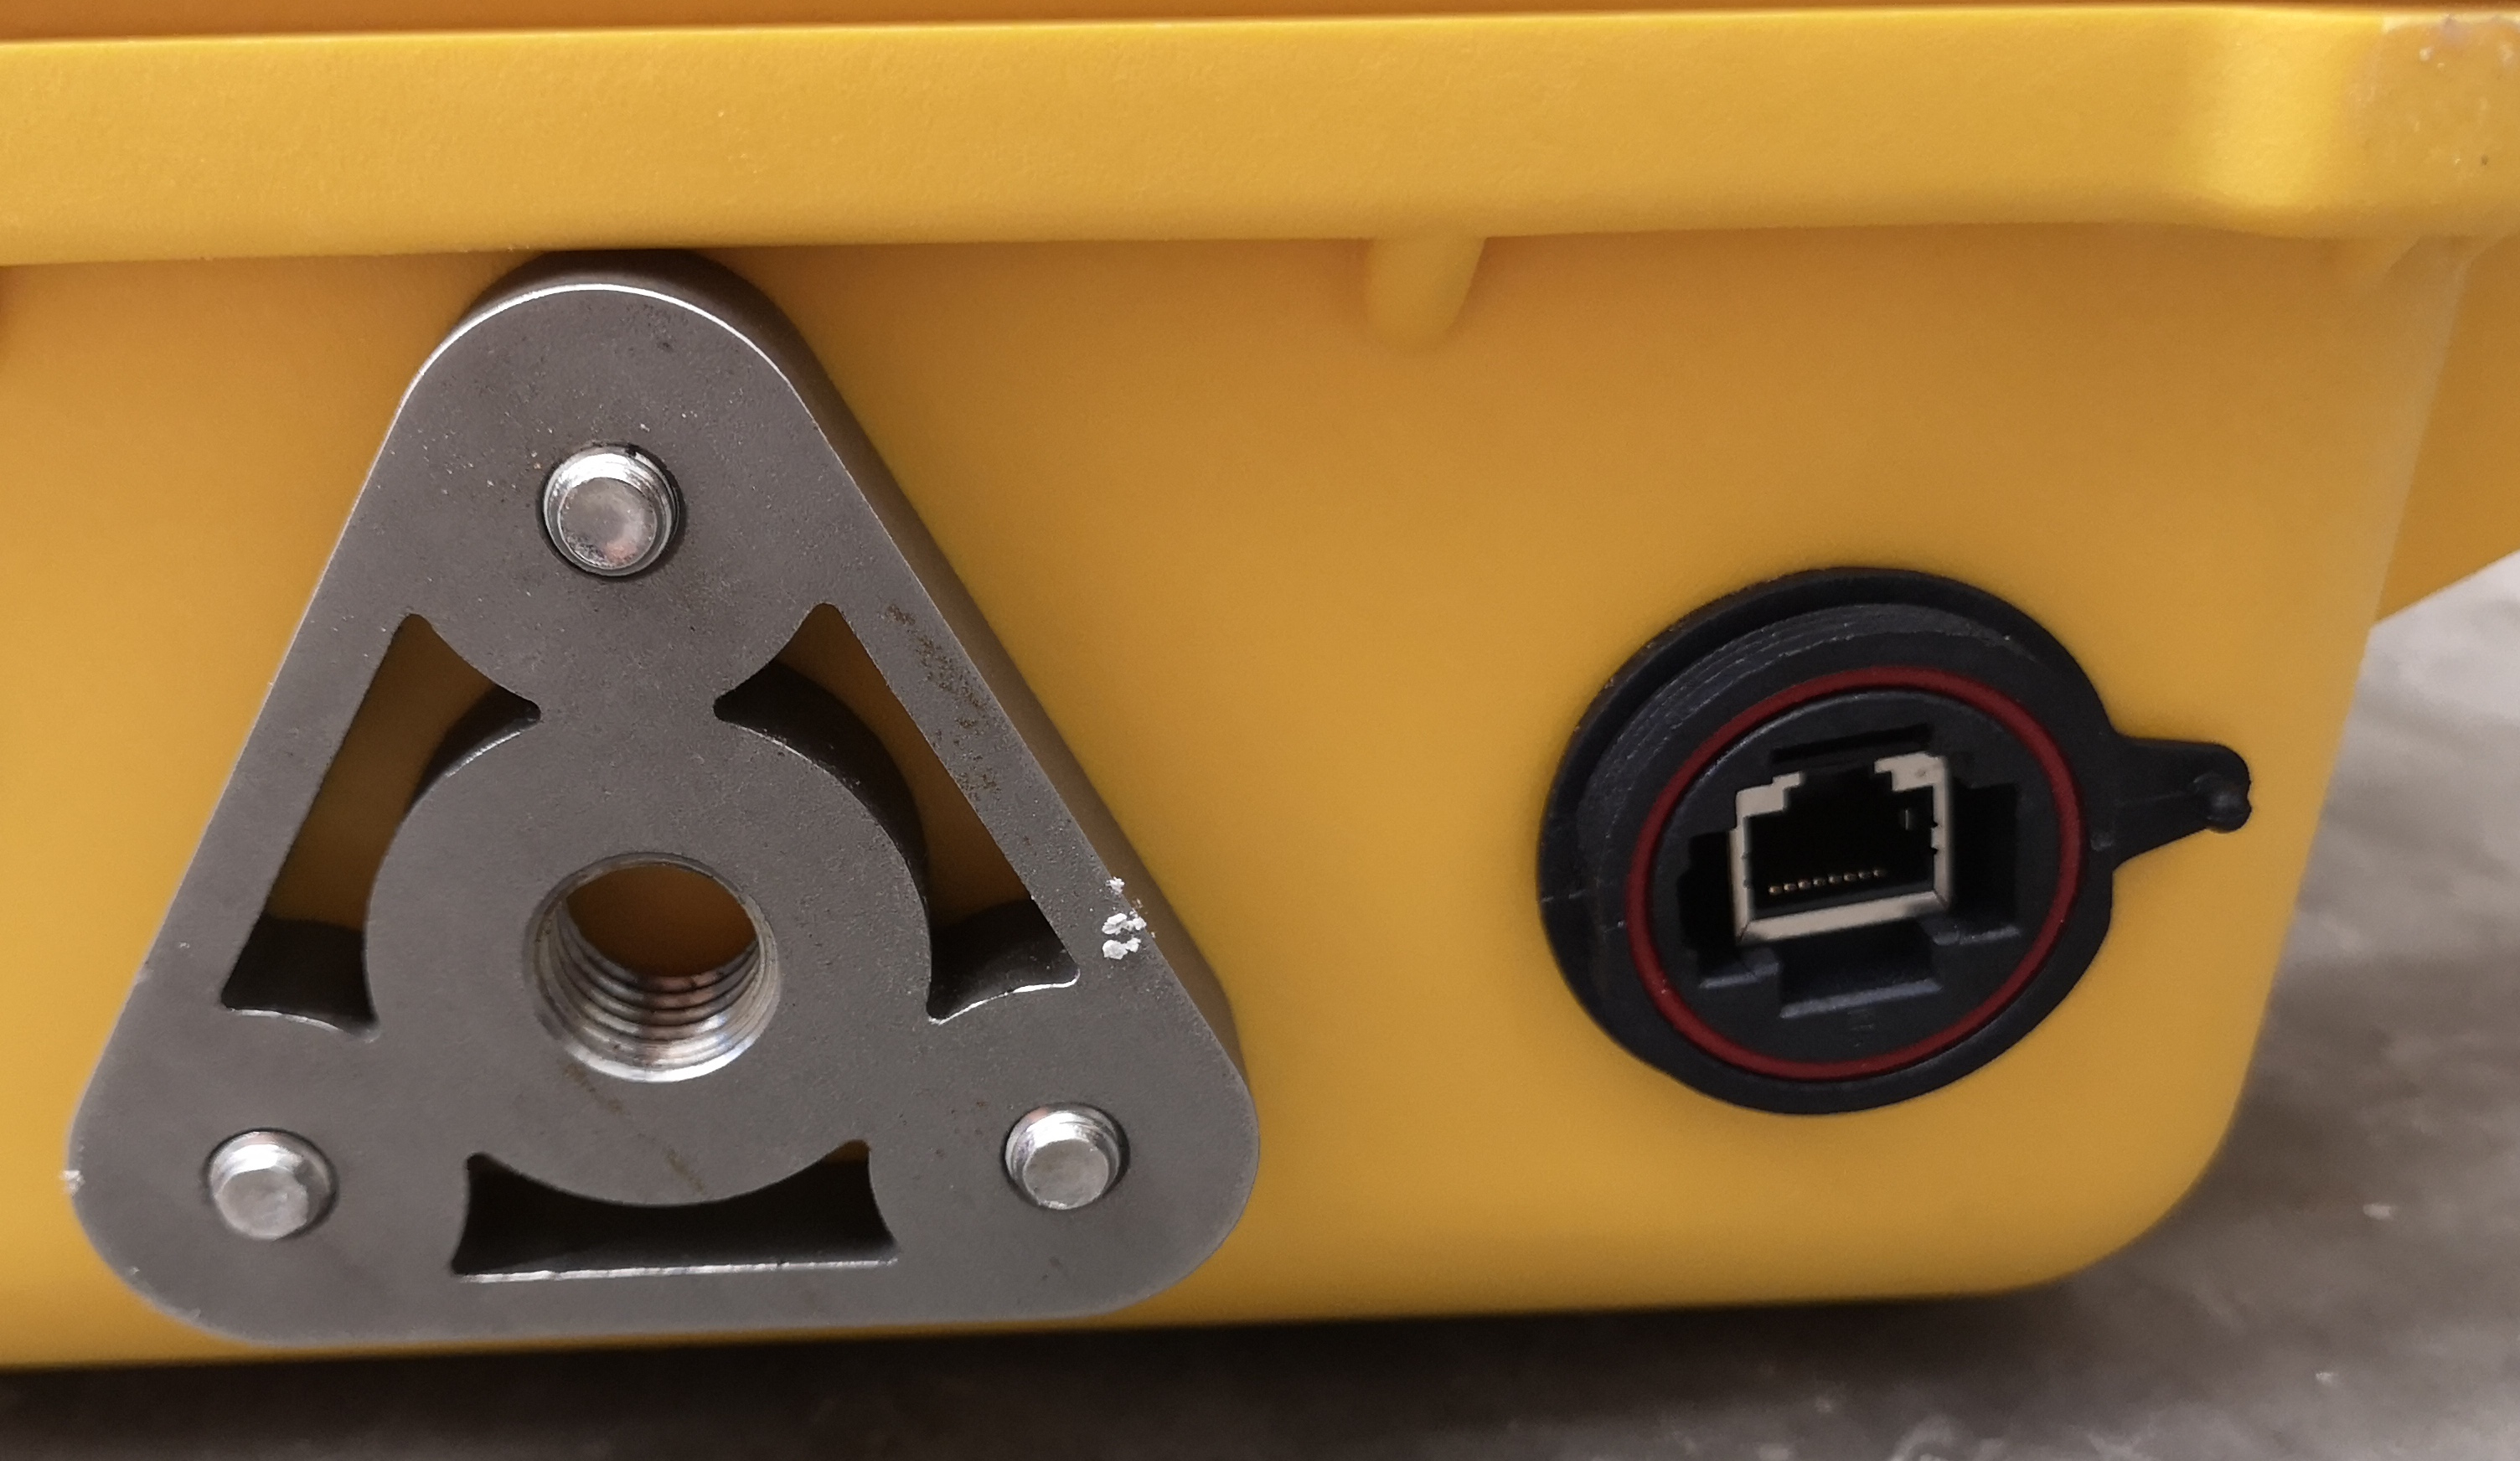
Heron’s base station has a WAN port located on the bottom of the case. Connect the base station to your network by connecting an ethernet cable into this port, ensuring that the other end of the cable is connected to a router or switch with internet access.
In order for your Heron to access the internet through the base station you must ensure that Heron’s networking is configured to use the base station as its primary gateway.
If using Netplan to configure the network, ensure that
nameservers:
  addresses:
    - 8.8.8.8
    - 8.8.4.4
gateway4: 192.168.131.50
is present under the br0 interface in /etc/netplan/50-clearpath-bridge.yaml. See Setting Up Heron’s Network for more
details on configuring Netplan.
If using the older /etc/network/interfaces file instead of Netplan, ensure that
gateway          192.168.131.50
dns-nameservers  8.8.8.8  8.8.4.4
is present in the br0 network.
Connecting to a Base Station
If your robot came with a base station you can connect your computer to the base station’s wireless network using
your computers normal tools. The SSID of the base station will look something like <robot's hostname>-base-station,
for example cpr-m300-1234-base-station
The robot will connect to the base station automatically when both are powered-on and in-range of each other. The following IP addresses will be used by the base station:
IP Address/Range |
Use |
|---|---|
192.168.131.1 |
The Heron itself |
192.168.131.50 |
The base station |
192.168.131.100-254 |
DHCP range for connected devices |
.