URE ROS Setup
This page will instruct you in how to install and use the Universal Robots ROS Driver. this open-source driver is maintained by Universal Robots and allows control of the arm using ROS controllers and tools such as MoveIt.
This driver replaces the now-deprectated ur_modern_driver.
Before you can use the driver with a physical arm, make sure you have configured the arm and installed the external control URCap.
This guide assumes you have a UR5 arm mounted to a Clearpath Robotics Husky UGV, though the arm may be mounted to other platforms including the Warthog UGV and Ridgeback. Other arms, such as the UR3 are also supported.
Installing the ROS Driver
The driver must be built from source code in a Catkin workspace. If you already have a workspace on your system you may use that, or you can create a new workspace by running the following commands:
source /opt/ros/melodic/setup.bash
mkdir -p $HOME/catkin_ws/src
cd $HOME/catkin_ws
catkin_init_workspace src
Once the workspace is created, clone the driver and its dependencies:
cd $HOME/catkin_ws/src
git clone https://github.com/UniversalRobots/Universal_Robots_ROS_Driver.git src/Universal_Robots_ROS_Driver.git
git clone -b calibration_devel https://github.com/fmauch/universal_robot.git src/fmauch_universal_robot.git
Clearpath Robotics provides a dedicated manipulation package intended to make using the UR5 and UR3 arms easier on several platforms, such as the Warthog, Husky and Ridgeback. Clone the appropriate repository into your catkin_ws:
# only install the packages needed for your platform
git clone -b melodic-devel https://github.com/husky/husky_manipulation.git
git clone -b melodic-devel https://github.com/warthog-cpr/warthog_manipulation.git
git clone -b melodic-devel https://github.com/ridgeback/ridgeback_manipulation.git
Note
When using the husky_manipulation, warthog_manipulation, or ridgeback_manipulation package, you may get warnings from rosdep that not all
dependencies could be installed. This is normal; the manipulation packages include dependencies for all supported arms, including ones made by Kuka, UR, and Kinova, as
well as manipulators such as Robotiq 2- and 3-finger grippers. If you are only using a UR E-series arm, the missing Kuka, Kinova, and Robotiq dependencies may be
safely ignored.
Finally, compile the driver by running:
cd $HOME/catkin_ws
rosdep install --from-paths src --ignore-src -r -y
catkin_make
Add the Arm to Your Robot’s Description
Once the ROS driver has been installed, you can add the arm to your robot’s URDF by using the robot’s URDF_EXTRAS environment variable. For example, to add a UR-5e to a Husky,
simply run the following:
export HUSKY_URDF_EXTRAS=$(catkin_find husky_ur_description urdf/husky_ur5_description.urdf.xacro --first-only)
Note
For other supported platforms, see their respective *_ur_description packages, e.g.
ridgback_ur_description
or warthog_ur_description.
Verify that your URDF shows the arm by running
roslaunch husky_viz view_model.launch
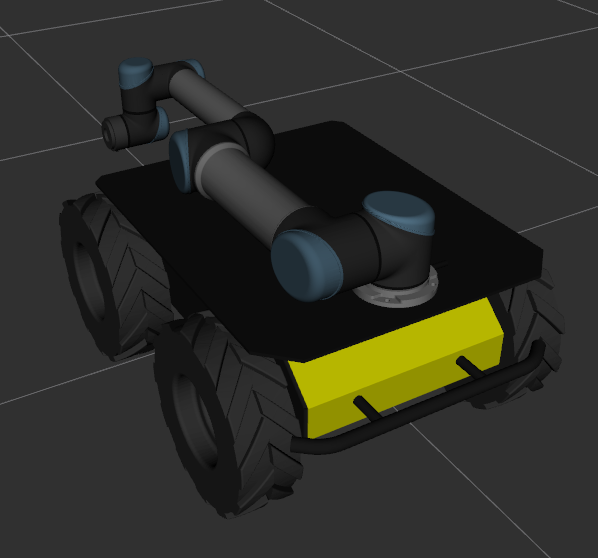
You should see the model of the Husky with the UR5 arm mounted to it:
If your robot also has additional sensors and other payloads, you may instead simply include the husky_ur5_description.urdf.xacro file
inside another URDF file:
<?xml version="1.0" ?>
<robot xmlns:xacro="http://wiki.ros.org/xacro">
  <!-- Add the UR5 to the Husky -->
  <xacro:include filename="$(find husky_ur_description)/urdf/husky_ur5_description.urdf.xacro" />

  <!-- Add any additional sensors, link, etc... here. e.g -->
  <xacro:include filename="$(find realsense2_description)/urdf/_d435.urdf.xacro" />
  ...
</robot>
Configure the ROS Systemd Job
To permanently add the UR E-series arm to your Husky UGV, edit /etc/ros/setup.bash to add the following:
# source your catkin workspace if you haven't done so already in this file
source /home/administrator/catkin_ws/devel/setup.bash

# set the HUSKY_URDF_EXTRAS environment variable to add the arm
# if you included the UR5 description in a different file, change the path as needed
export HUSKY_URDF_EXTRAS=$(catkin_find husky_ur_description urdf/husky_ur5_description.urdf.xacro --first-only)

# set the IP address of the arm
export HUSKY_UR_IP=192.168.131.40
After editing /etc/ros/setup.bash you will need to restart the ROS systemd job by running
sudo systemctl restart ros
Launching the ROS Driver
To start the ROS driver use the launch file included in the husky_manipulation package (or other robot’s manipulation package, if you aren’t using Husky).
roslaunch husky_ur_bringup husky_ur_bringup.launch
Starting the ROS driver will open a TCP port that the External Control URCap will connect to. Once the ROS driver has started, start the External Control program on the UR Controller.
Starting MoveIt!
MoveIt! is a motion-planning library that can be used to control the arm. While the Universal Robots ROS driver provides direct control over the
position of each indivdual joint, MoveIt can be used to perform inverse-kinematics calculations, moving the arm’s end-effector link to a desired
XYZ + RPY position in three-dimensional space.
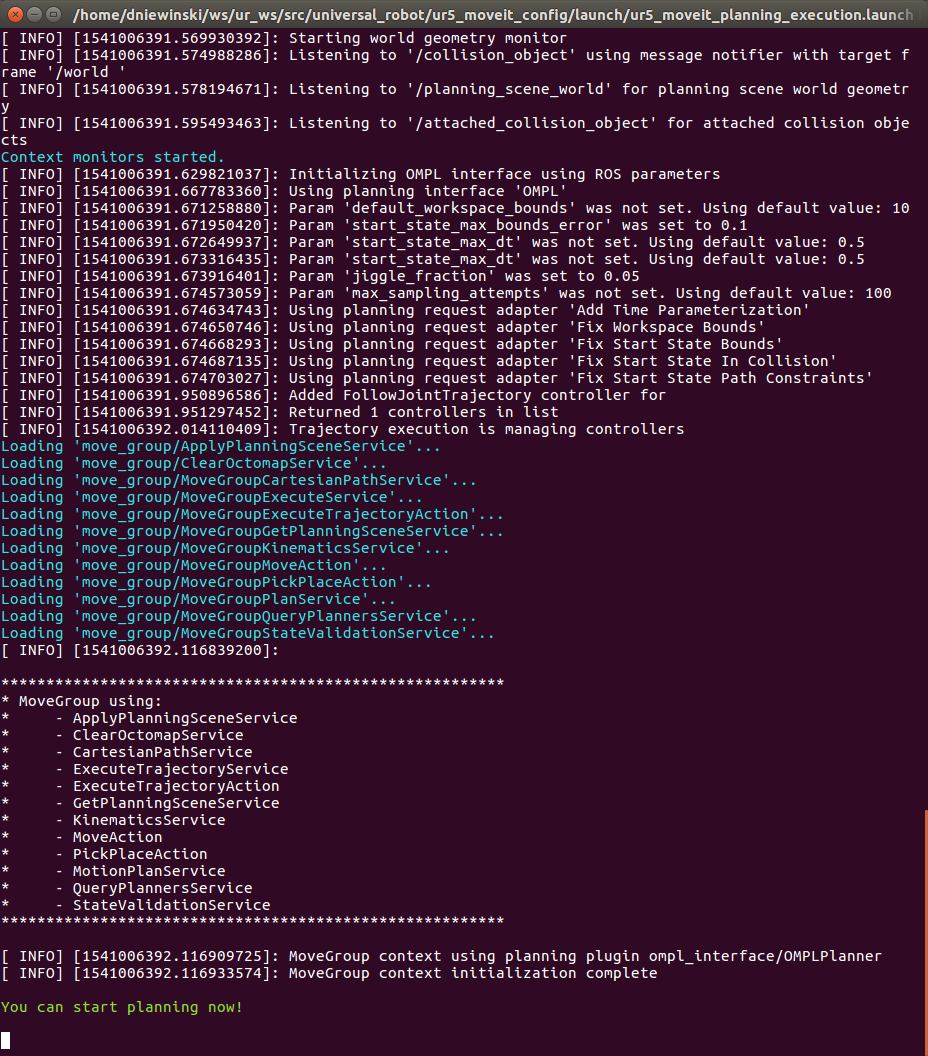
To start the MoveIt planner, run
roslaunch husky_ur_moveit_config husky_ur_moveit_planning_execution.launch
Once this is launched, you should see no errors in the terminal window. There are cases where seeing warnings is not an issue.
Setup RVIZ
Now that you have the arm’s driver and moveit configuration running in seperate terminals, it is time to view everything in a graphical interface. To do this, open a new terminal and run:
roslaunch husky_viz view_robot.launch
Once RVIZ loads, you may see a blank interface.

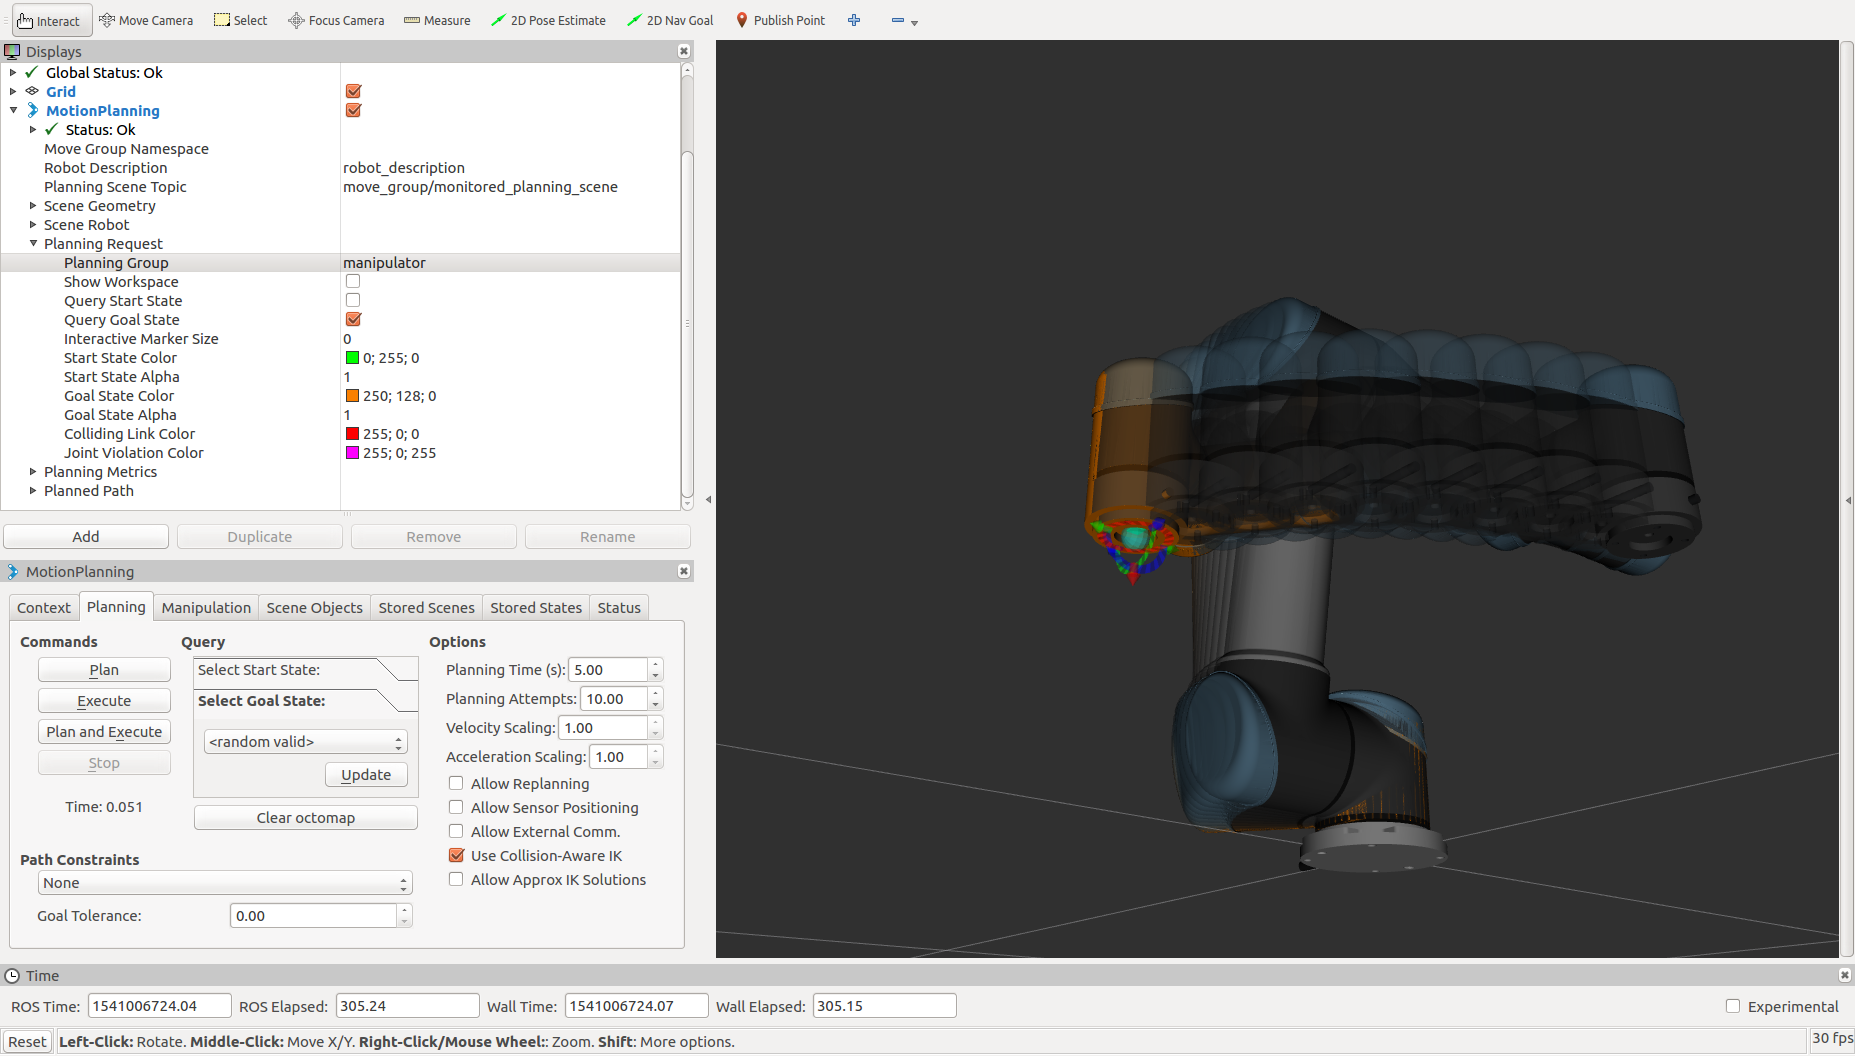
To be able to watch and control the arm, you will need to add the MoveIt! MotionPlanning plugin. To load this, click Add in the bottom-left.
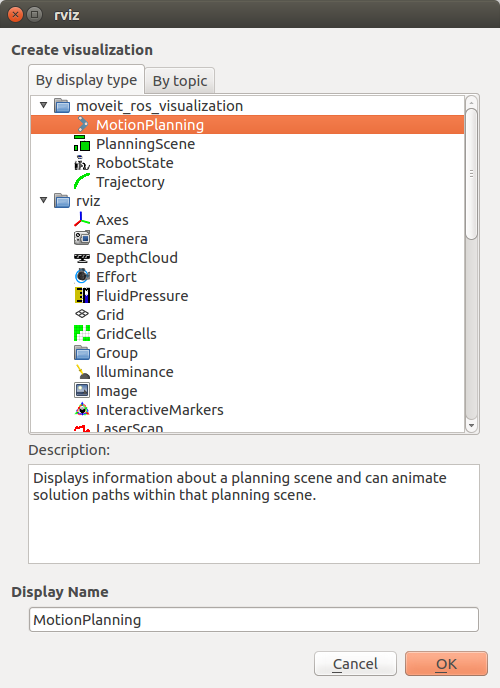
In the list that is displayed, select MotionPlanning and click OK.
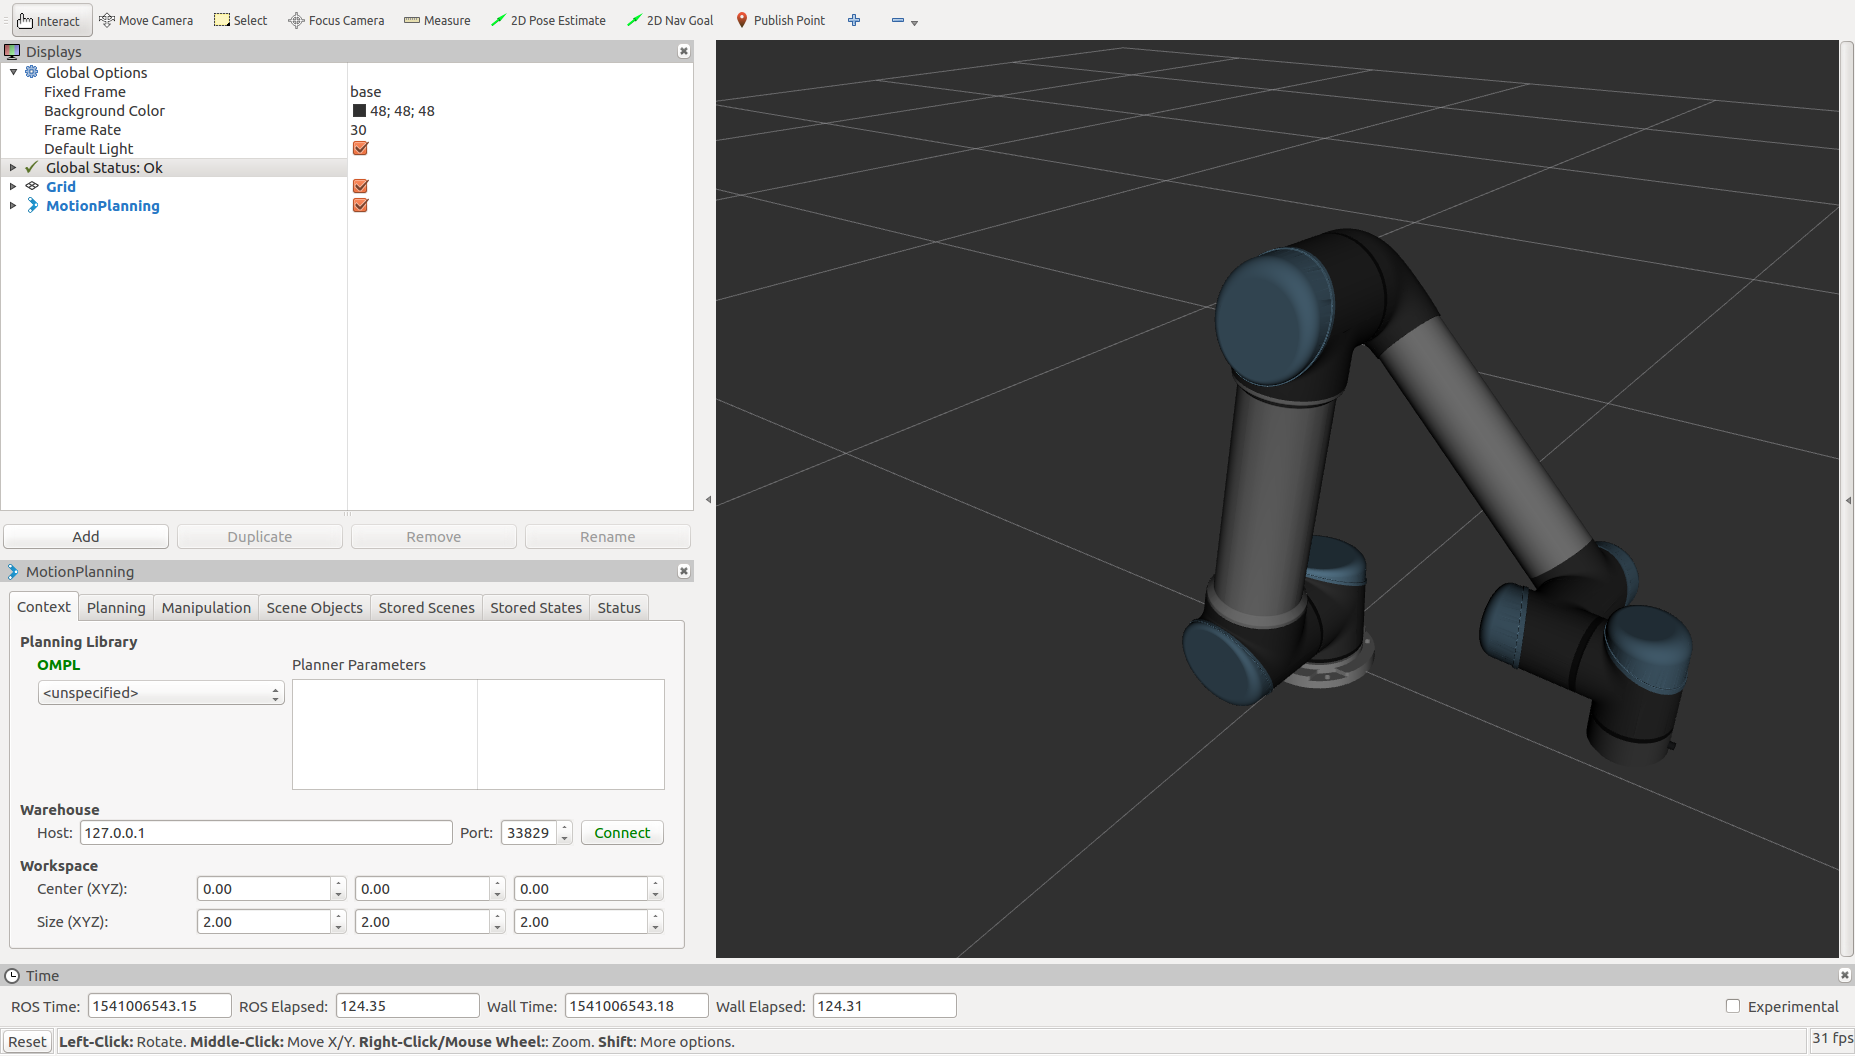
Now you should see the arm displayed in RVIZ. If you don’t see the arm, or the joints are in different positions that they are in reality, ensure that the driver is still running properly and that the arm has been Initialized.
Control the Arm!
To control the arm, you need to select the planning group you are going to use. This is a simple setup so there is only one main group to select, but as you get into more complex manipulation systems, there may be multiple groups. Under MotionPlanning > Planning Request, set the planning group to “manipulator”. This will create a second arm in the 3D window that is orange.
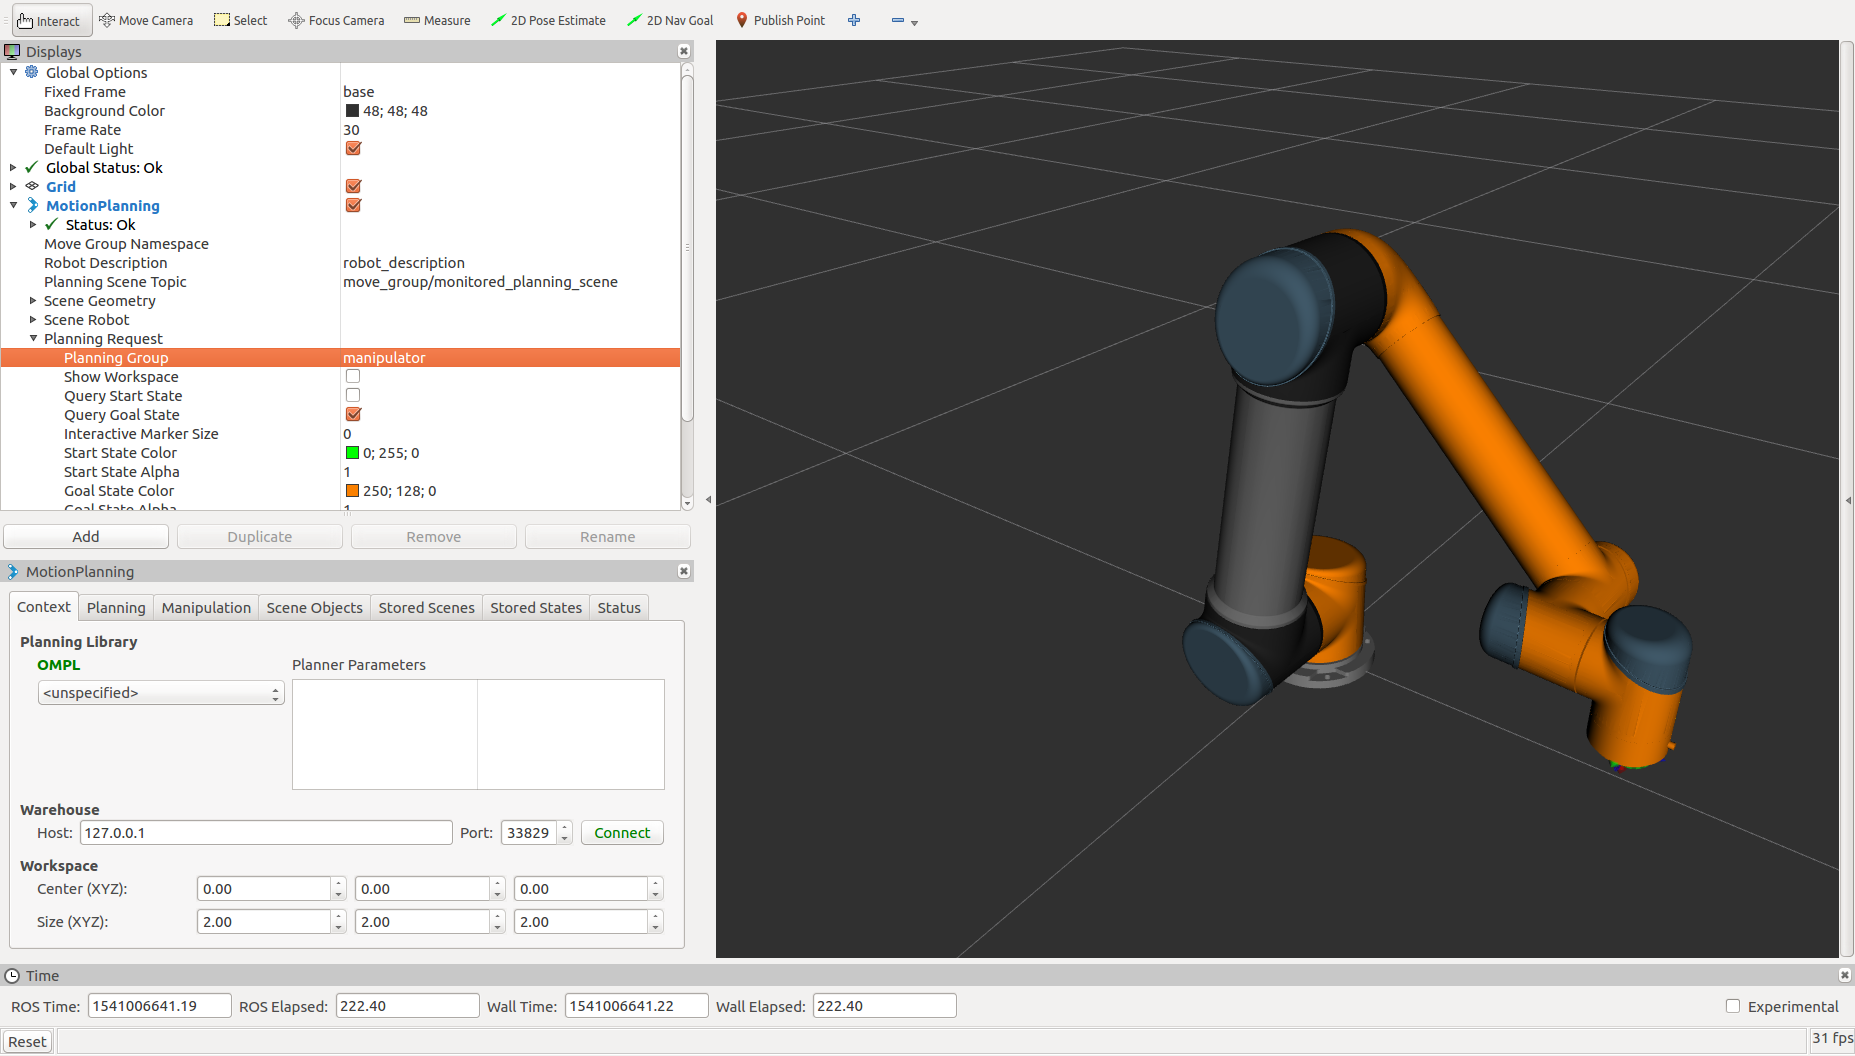
This orange arm is the Goal state of the arm. This means that when you plan a motion, the arm will plan from where it current is to where the orange arm is. On the end of this new arm, there will be an Interactive Marker that you can use to adjust the Goal position.

The arrows on this marker are translations relative to the end of the arm. The arcs are rotation around those axes. The blue ball in the middle will give cartesian linear control. Click and drag any of these controls to move the arm into a new position. As you are dragging the end of the arm around, inverse-kinematics will be calculating joint angles for the rest of the arm.
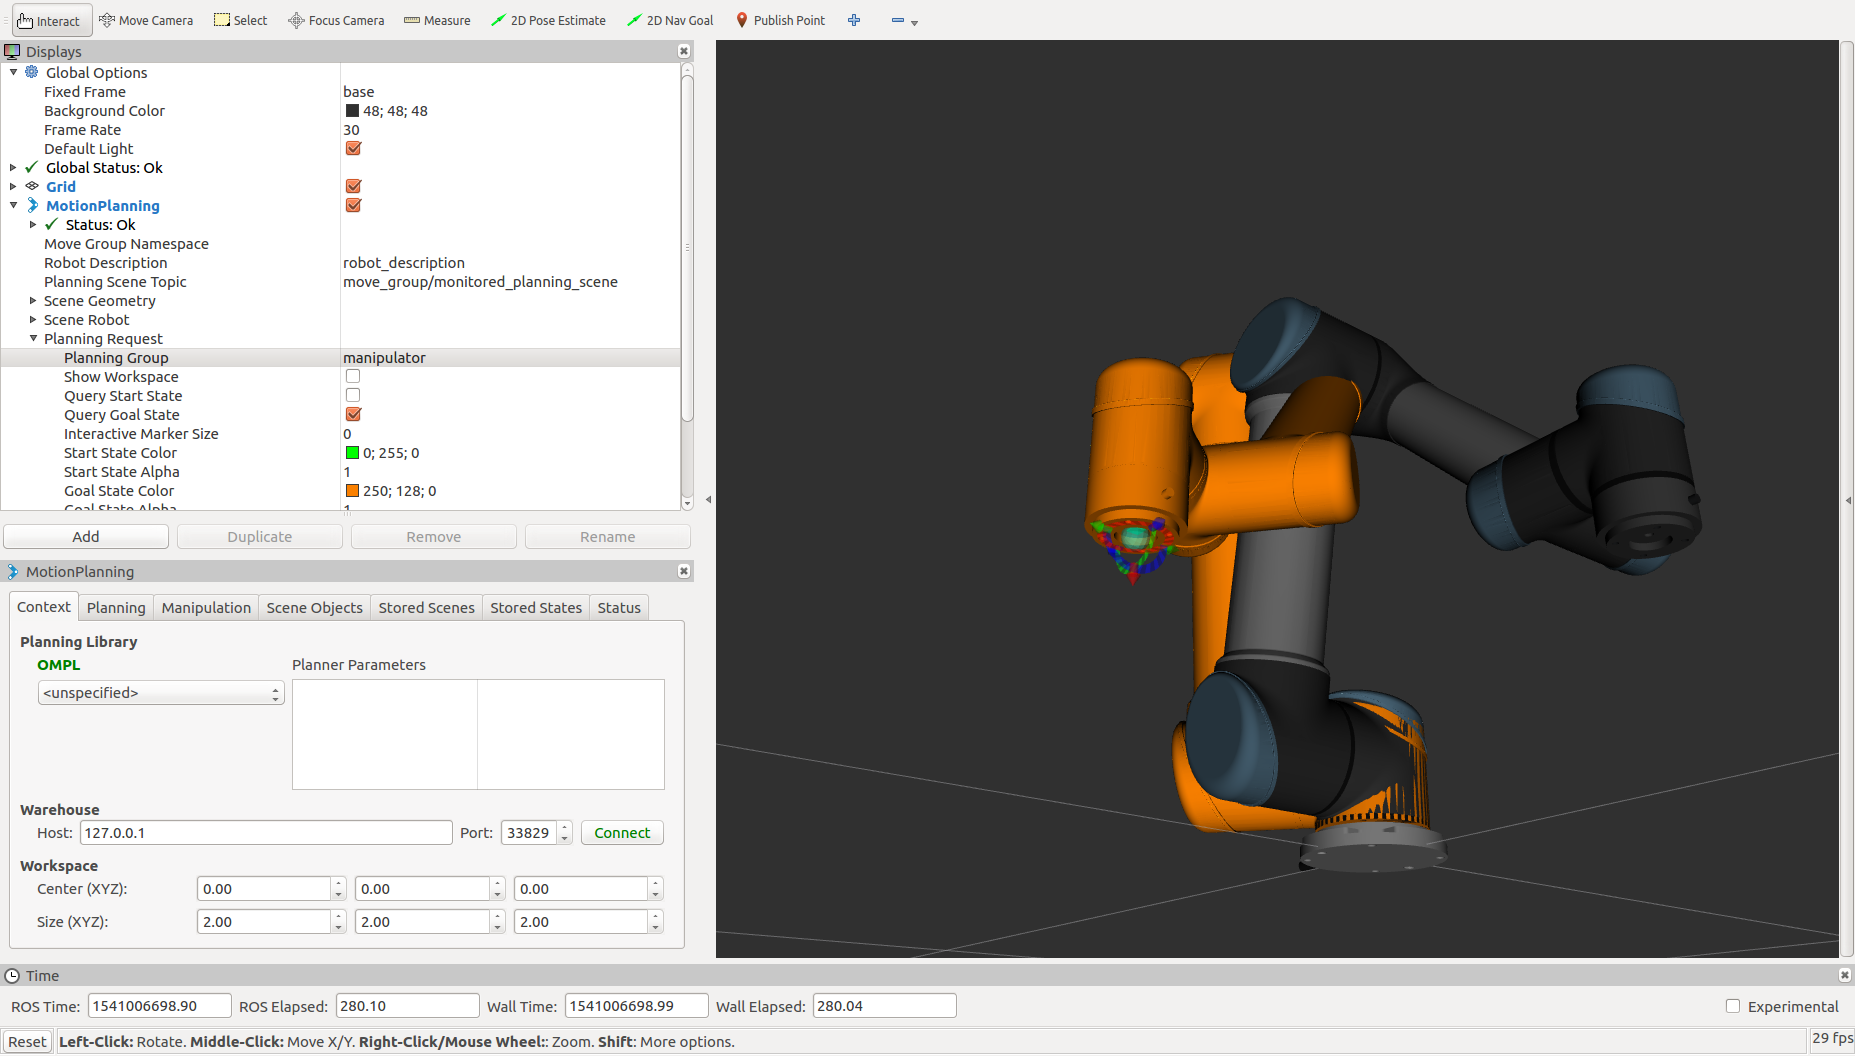
Now that you have told the arm where you want it to go, press Plan under the Planning tab. It may take a moment, but you should see the arm make a motion inside of RVIZ showing the path that it has planned to take. There are settings under Planned Path that control how this plan is displayed in case you are having trouble visualizing how the arm will move. Once you are satisfied with the planned path, click Execute to have the real arm follow the planned path. Keep in mind that this will move the actual hardware in reality so ensure that the arm has a safe area to do so and that an e-stop button is within reach, just in case.