Additional Simulation Worlds
In addtion to the default warthog_world.launch file, warthog_gazebo contains three additional launch files:
empty_world.launch, which spawns Warthog in a featureless, infinite plane;warthog_race.launch, which spawns a world with lots of linear barriers; andspawn_warthog.launch, which is intended to be included in any custom world to add a Warthog simulation to it.
To add a Warthog to any of your own worlds, simply include the spawn_warthog.launch file in your own world’s launch:
<include file="$(find warthog_gazebo)/launch/spawn_warthog.launch">
  <!-- Optionally configure the spawn position -->
  <arg name="x" value="$(arg x)"/>
  <arg name="y" value="$(arg y)"/>
  <arg name="z" value="$(arg z)"/>
  <arg name="yaw" value="$(arg yaw)"/>
</include>
Finally, Clearpath provides an additional suite of simulation environments that can be downloaded separately and used with Warthog, as described below.
Clearpath Gazebo Worlds
The Clearpath Gazebo Worlds collection contains 4 different simulation worlds, representative of different environments our robots are designed to operate in:
Inspection World: a hilly outdoor world with water and a cave
Agriculture World: a flat outdoor world with a barn, fences, and solar farm
Office World: a flat indoor world with enclosed rooms and furniture
Construction World: office world, under construction with small piles of debris and partial walls
Warthog is supported in Inspection and Agriculture Worlds.
Installation
To download the Clearpath Gazebo Worlds, clone the repository from github into the same workspace as your Warthog:
cd ~/catkin_ws/src
git clone https://github.com/clearpathrobotics/cpr_gazebo.git
Before you can build the package, make sure to install dependencies. Because Clearpath Gazebo Worlds depends on
all of our robots’ simulation packages, and some of these are currently only available as source code, installing
dependencies with rosdep install --from-paths [...] will likely fail.
All four simulation environments need the gazebo_ros package. The Inspection World also needs the uuv_gazebo_worlds
package, which can be installed by running
sudo apt-get install ros-$ROS_DISTRO-uuv-gazebo-worlds
Once the dependencies are installed, you can build the package:
cd ~/catkin_ws
catkin_make
source devel/setup.bash
Running the Inspection Simulation
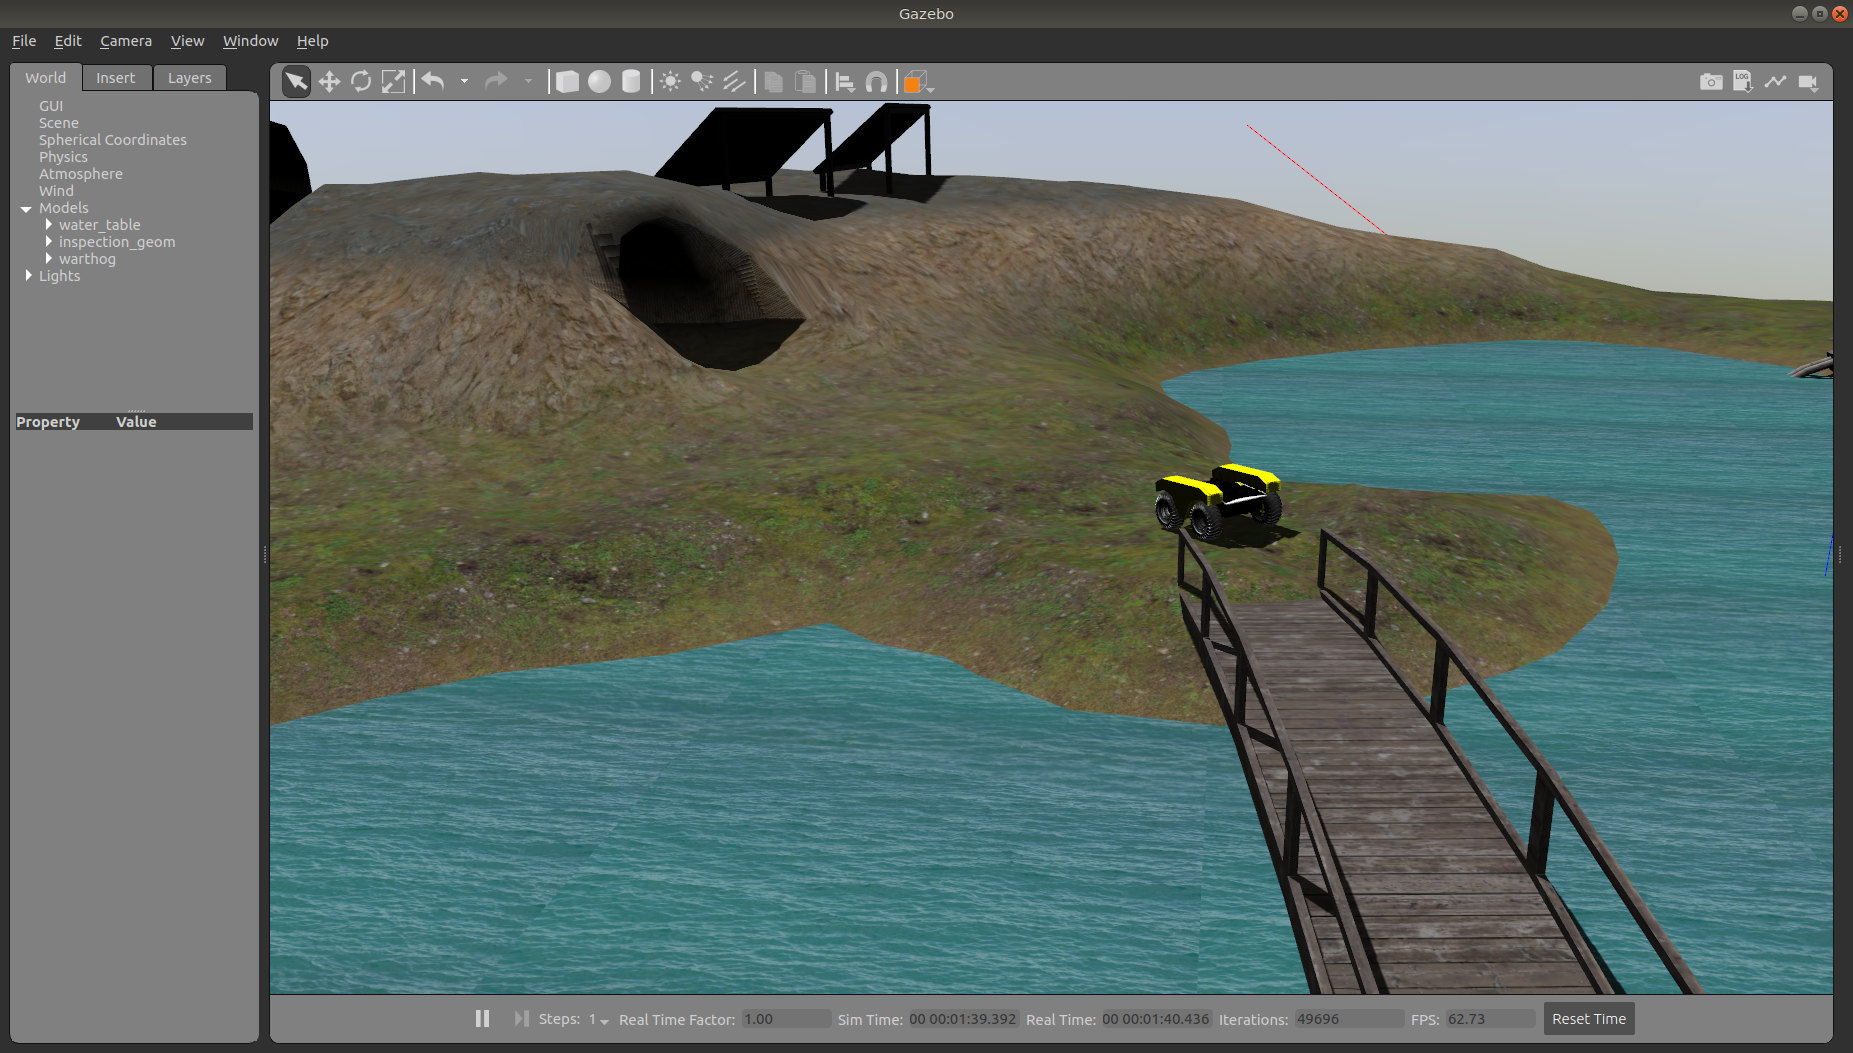
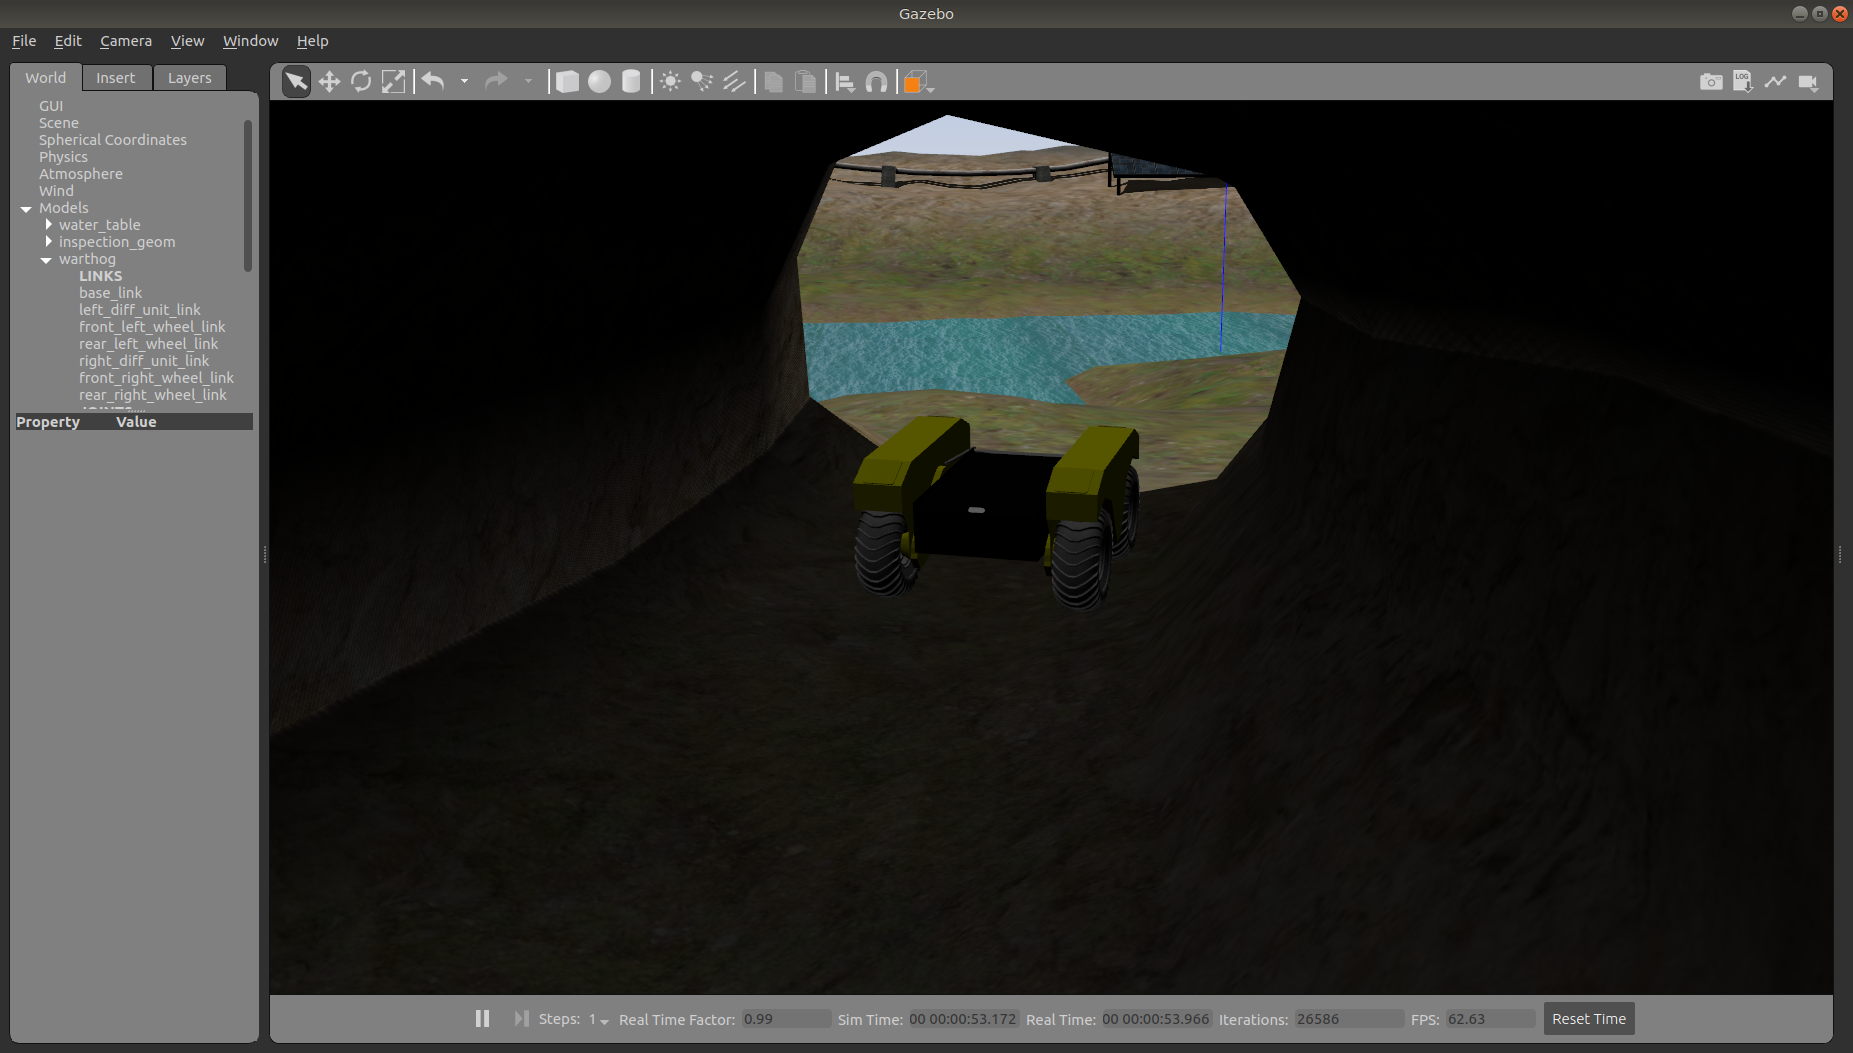
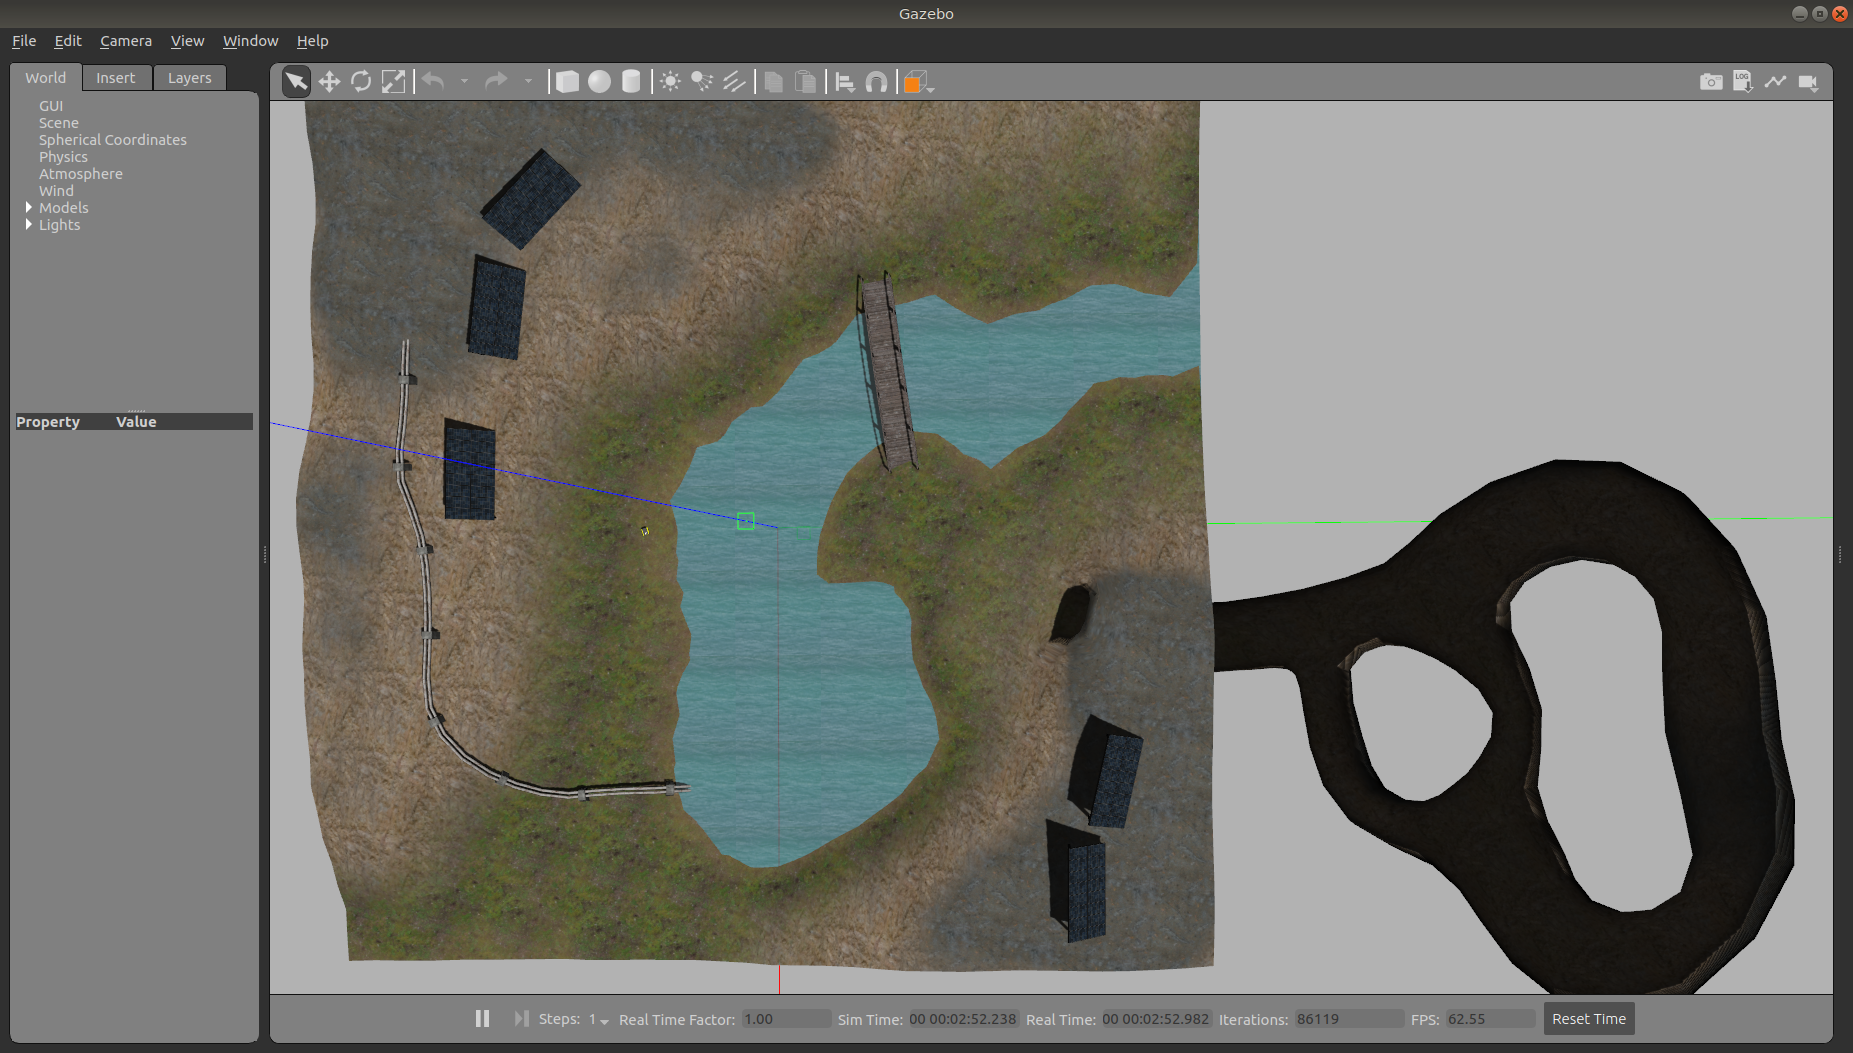
Inspection World is a hilly, outdoor world that includes a water feature, bridge, pipeline, small cave/mine, and a small solar farm. It is intended to simulate a variety of missions, including pipeline inspection, cave/underground navigation, and localization on non-planar terrain.
To launch the inspection simulation, run
roslaunch cpr_inspection_gazebo inspection_world.launch platform:=warthog
To customize Warthog’s payload, for example to add additional sensors, see Customizing Warthog’s Payload.
Once the simulation is running you can use rviz and other tools as described in Simulating Warthog to control and monitor the robot. For example, below we can see Warthog exploring the cave:
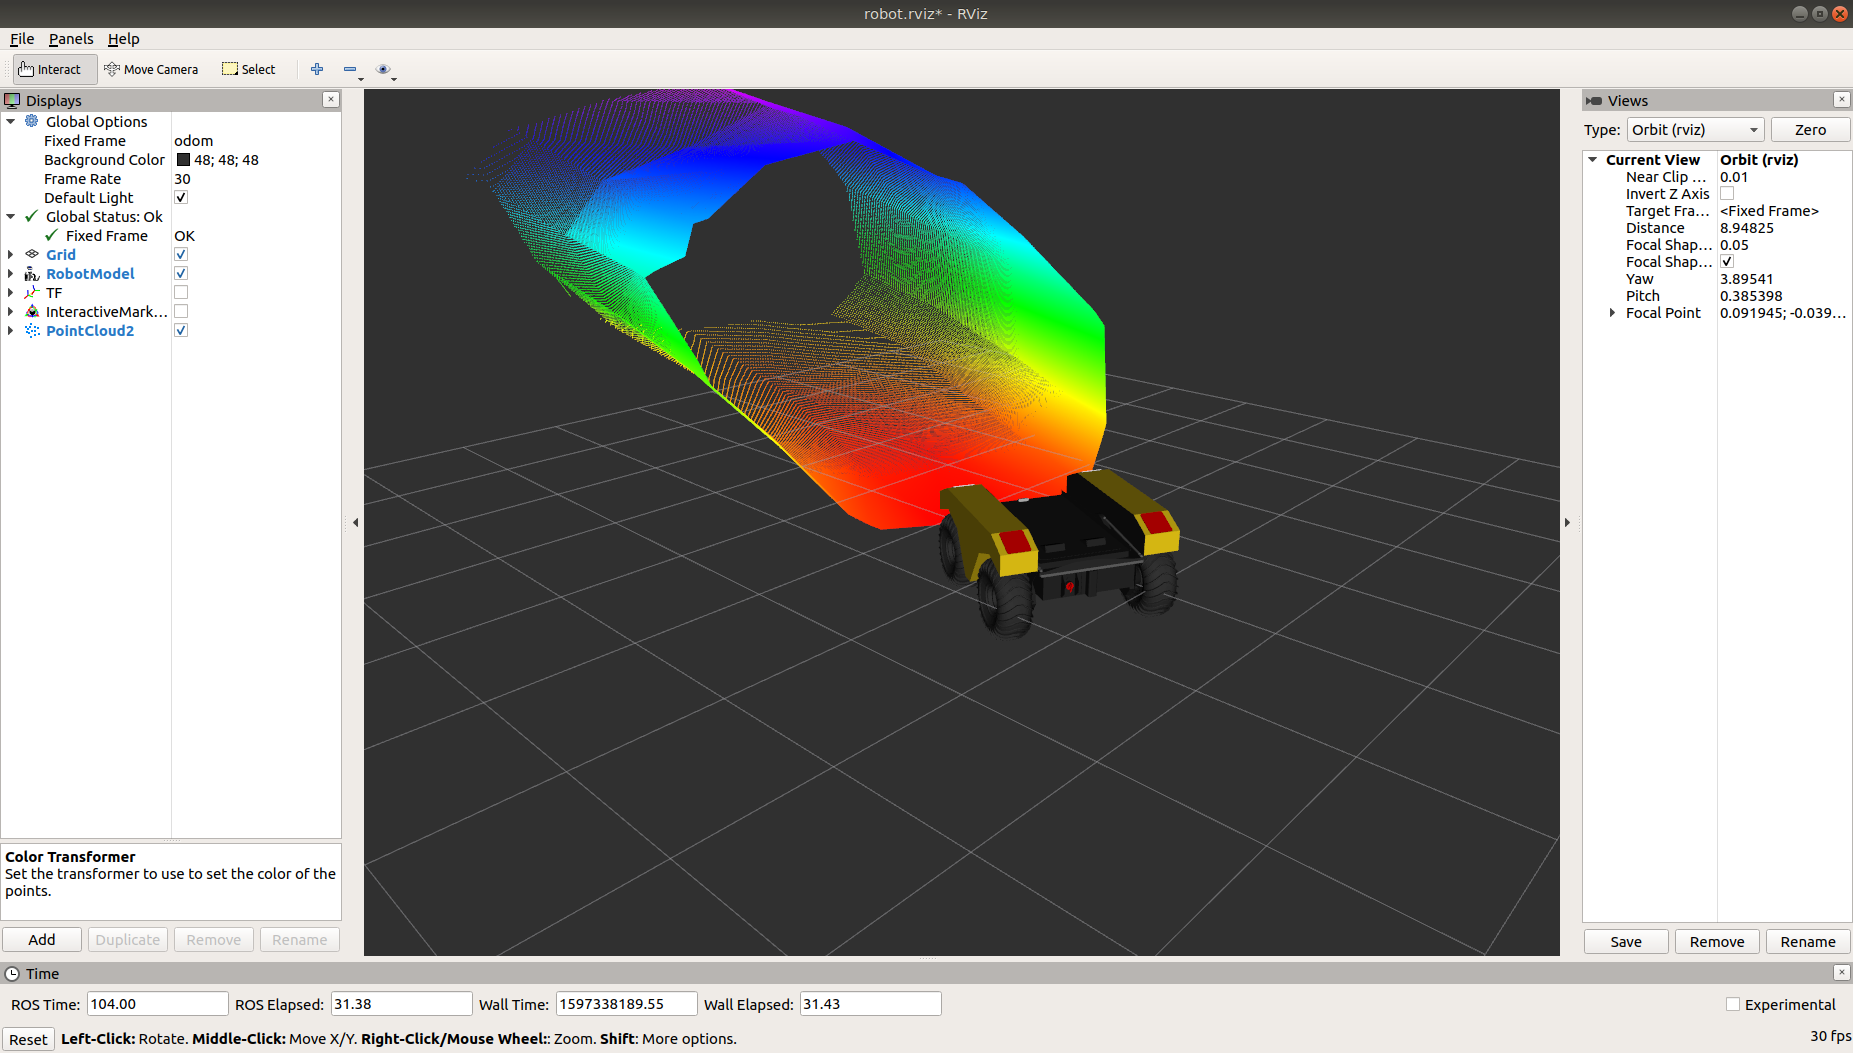
and Warthog’s perception of the inside of the cave as a 3D pointcloud in rviz:
You can see the complete layout of the Inspection World below:
Running the Agriculture Simulation
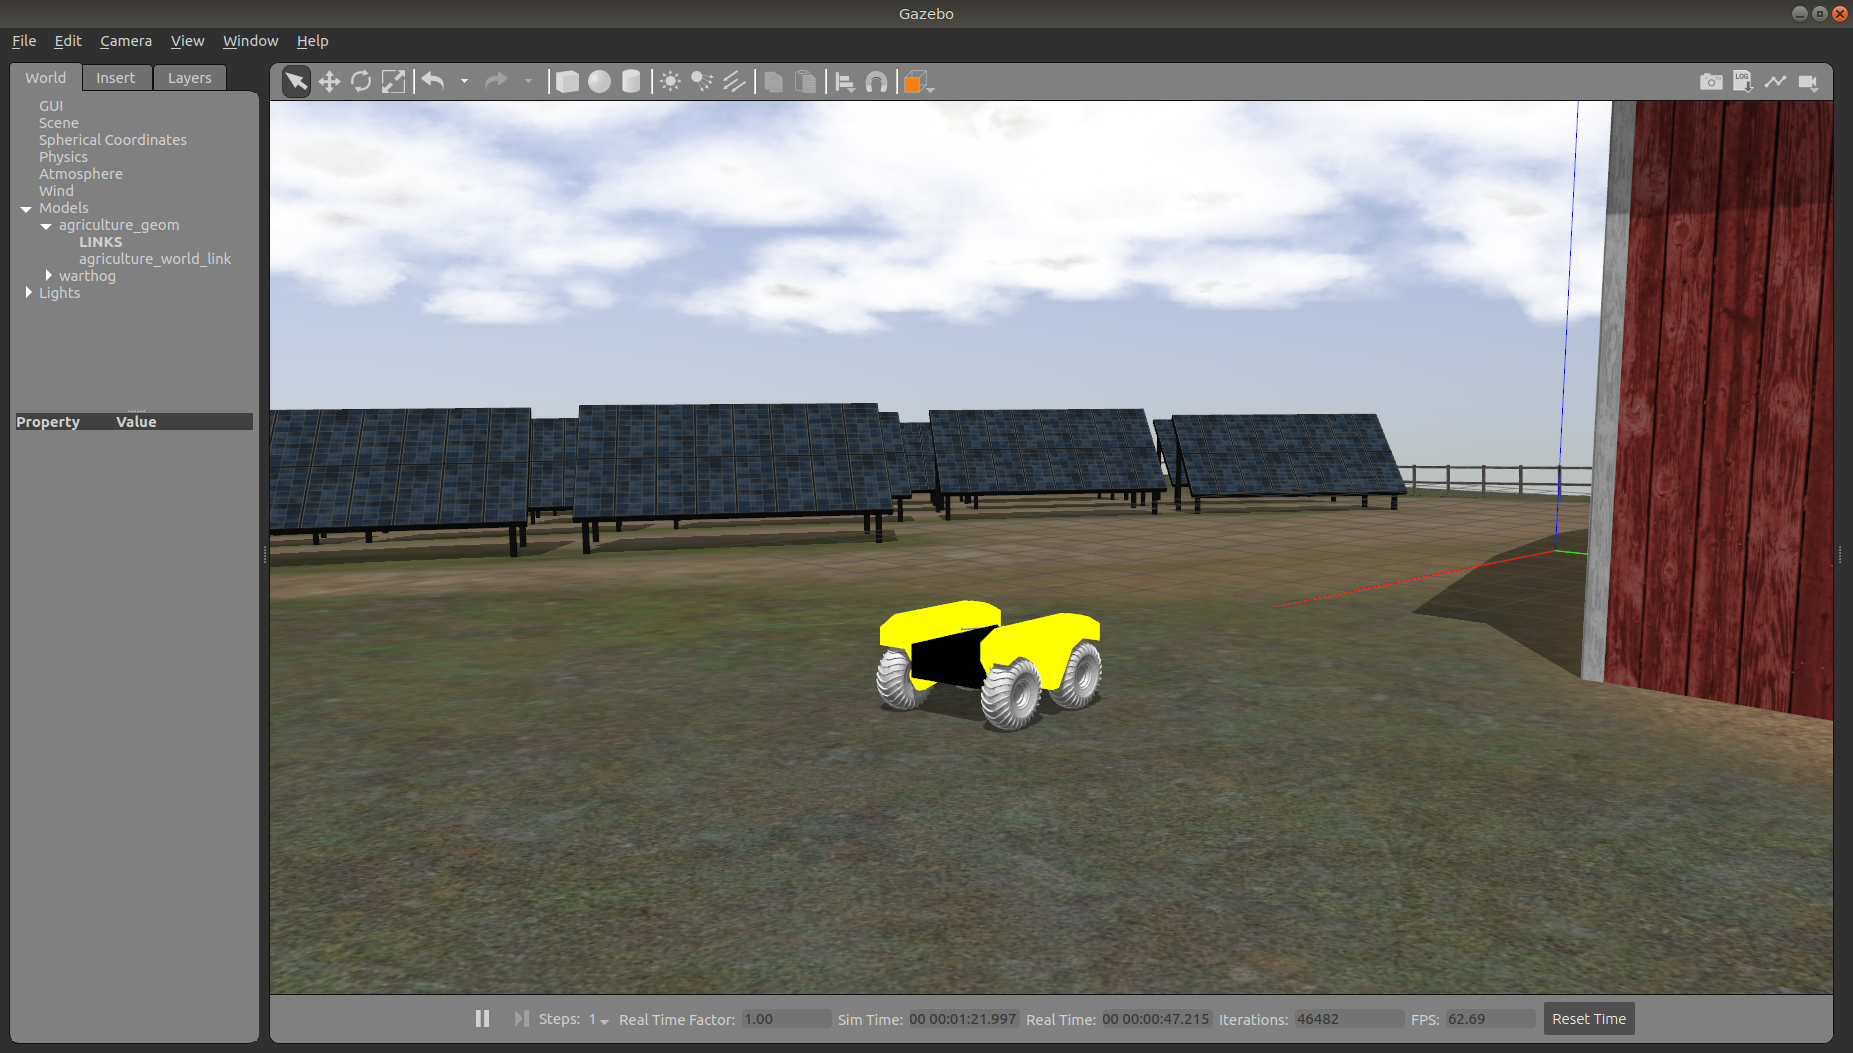
Agriculture World is a flat, mixed indoor/outdoor world that include a large barn, open fields surrounded by fences, and a large solar farm. It is intended to simulate missions such as solar panel inspection and area coverage.
To launch the agriculture simulation, run
roslaunch cpr_agriculture_gazebo agriculture_world.launch platform:=warthog
To customize Warthog’s payload, for example to add additional sensors, see Customizing Warthog’s Payload.
Once the simulation is running you can use rviz and other tools as described in Simulating Warthog to control and monitor the robot.

Customizing Warthog’s Payload
To customize Warthog’s payload you must use the environment variables described in Configuration & Environment Variables.
You can add additional sensors by creating a customized URDF and setting the WARTHOG_URDF_EXTRAS environment
variable to point to it.
For example, let’s suppose you want to equip Warthog with an Intel RealSense D435 camera. First, install the realsense2_camera
and realsense2_description packages, along with the gazebo plugins:
sudo apt-get install ros-$ROS_DISTRO-realsense2-camera ros-$ROS_DISTRO-realsense2-description ros-$ROS_DISTRO-gazebo-plugins
Then create your customized URDF file, for example $HOME/Desktop/realsense.urdf.xacro. Put the following in it:
<?xml version="1.0"?>
<robot xmlns:xacro="http://ros.org/wiki/xacro">

  <link name="front_realsense" />

  <!--
    The gazebo plugin aligns the depth data with the Z axis, with X=left and Y=up
    ROS expects the depth data along the X axis, with Y=left and Z=up
    This link only exists to give the gazebo plugin the correctly-oriented frame
  -->
  <link name="front_realsense_gazebo" />
  <joint name="front_realsense_gazebo_joint" type="fixed">
    <parent link="front_realsense"/>
    <child link="front_realsense_gazebo"/>
    <origin xyz="0.0 0 0" rpy="-1.5707963267948966 0 -1.5707963267948966"/>
  </joint>

  <gazebo reference="front_realsense">
    <turnGravityOff>true</turnGravityOff>
    <sensor type="depth" name="front_realsense_depth">
      <update_rate>30</update_rate>
      <camera>
        <!-- 75x65 degree FOV for the depth sensor -->
        <horizontal_fov>1.5184351666666667</horizontal_fov>
        <vertical_fov>1.0122901111111111</vertical_fov>

        <image>
          <width>640</width>
          <height>480</height>
          <format>RGB8</format>
        </image>
        <clip>
          <!-- give the color sensor a maximum range of 50m so that the simulation renders nicely -->
          <near>0.01</near>
          <far>50.0</far>
        </clip>
      </camera>
      <plugin name="kinect_controller" filename="libgazebo_ros_openni_kinect.so">
        <baseline>0.2</baseline>
        <alwaysOn>true</alwaysOn>
        <updateRate>30</updateRate>
        <cameraName>realsense</cameraName>
        <imageTopicName>color/image_raw</imageTopicName>
        <cameraInfoTopicName>color/camera_info</cameraInfoTopicName>
        <depthImageTopicName>depth/image_rect_raw</depthImageTopicName>
        <depthImageInfoTopicName>depth/camera_info</depthImageInfoTopicName>
        <pointCloudTopicName>depth/color/points</pointCloudTopicName>
        <frameName>front_realsense_gazebo</frameName>
        <pointCloudCutoff>0.105</pointCloudCutoff>
        <pointCloudCutoffMax>8.0</pointCloudCutoffMax>
        <distortionK1>0.00000001</distortionK1>
        <distortionK2>0.00000001</distortionK2>
        <distortionK3>0.00000001</distortionK3>
        <distortionT1>0.00000001</distortionT1>
        <distortionT2>0.00000001</distortionT2>
        <CxPrime>0</CxPrime>
        <Cx>0</Cx>
        <Cy>0</Cy>
        <focalLength>0</focalLength>
        <hackBaseline>0</hackBaseline>
      </plugin>
    </sensor>
  </gazebo>

  <link name="front_realsense_lens">
    <visual>
      <origin xyz="0.02 0 0" rpy="${pi/2} 0 ${pi/2}" />
      <geometry>
        <mesh filename="package://realsense2_description/meshes/d435.dae" />
      </geometry>
      <material name="white" />
    </visual>
  </link>

  <joint type="fixed" name="front_realsense_lens_joint">
    <!-- Offset the camera to the front edge of the robot -->
    <origin xyz="0.60 0 0.01" rpy="0 0 0" />
    <parent link="top_chassis_link" />
    <child link="front_realsense_lens" />
  </joint>
  <joint type="fixed" name="front_realsense_joint">
    <origin xyz="0.025 0 0" rpy="0 0 0" />
    <parent link="front_realsense_lens" />
    <child link="front_realsense" />
  </joint>
</robot>
This file defines the additional links for adding a RealSense camera to the robot, as well as configuring the openni_kinect
plugin for Gazebo to simulate data from a depth camera. The camera itself will be connected to the Warthog’s front_mount
link, offset 5cm towards the front of the robot.
Now, set the WARTHOG_URDF_EXTRAS environment variable and try viewing the Warthog model:
export WARTHOG_URDF_EXTRAS=$HOME/Desktop/realsense.urdf.xacro
roslaunch warthog_viz view_model.launch
You should see the Warthog model in rviz, with the RealSense camera mounted to it:

To launch the customized Warthog in any of the new simulation environments, similarly run:
export WARTHOG_URDF_EXTRAS=$HOME/Desktop/realsense.urdf.xacro
roslaunch cpr_inspection_gazebo inspection_world.launch platform:=warthog
You should see Warthog spawn in the office world with the RealSense camera:
You can view the sensor data from the RealSense camera by running
roslaunch warthog_viz view_robot.launch
and adding the camera & pointcloud from the /realsense/color/image_raw and /realsense/depth/color/points topics: