Installing a Jetson TX2 on a Husky
Step 1: Remove mini-ITX Computer
(Skip this step if you don’t have a computer)
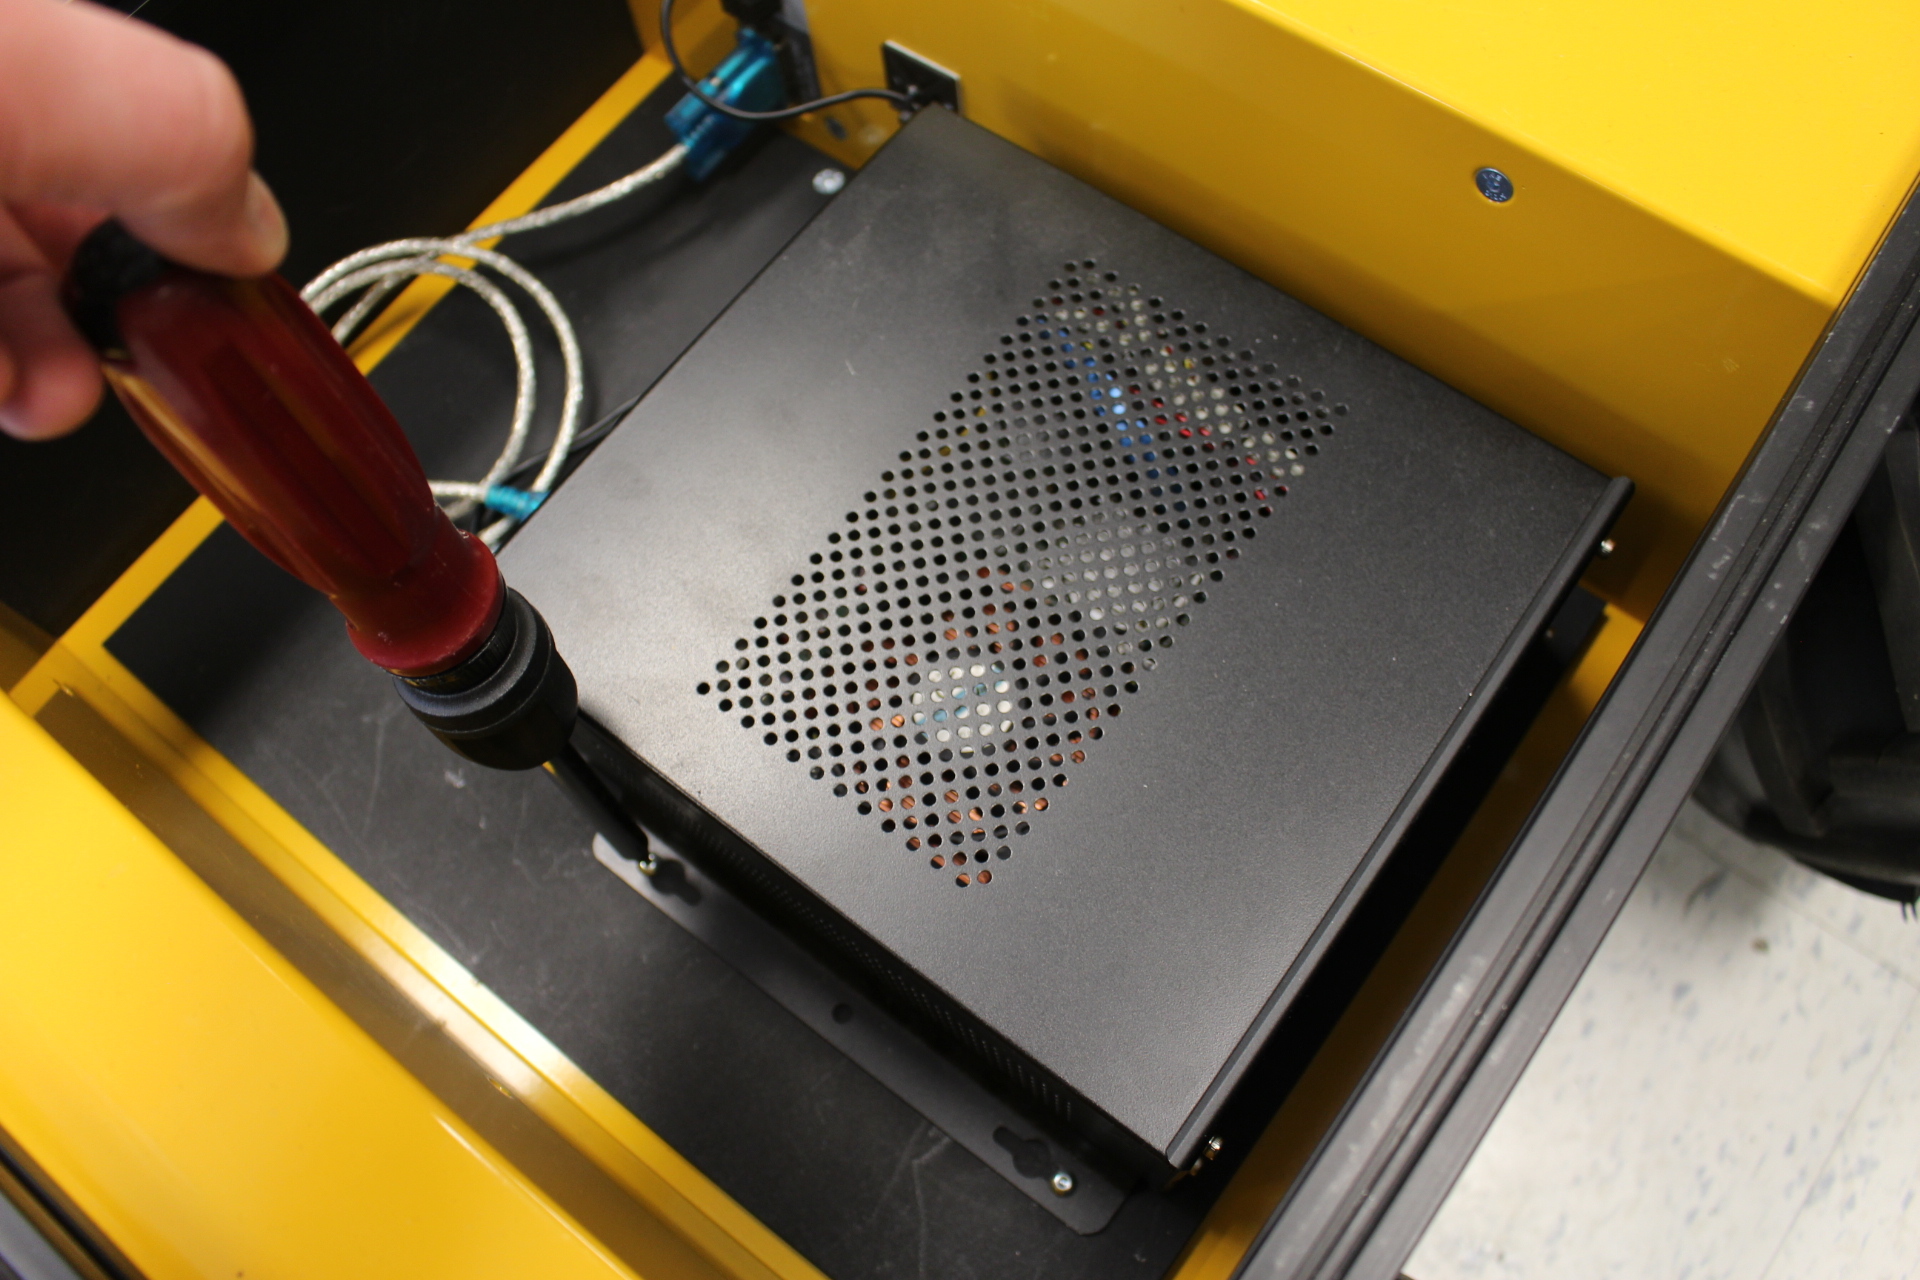
If you have a mini-ITX computer installed it will need to be removed. Locate the power and communication cable connected to the computer and remove them. If you have any other sensors attached, remove those too. Keep them connected to the Husky plaform.

Remove the four (4) hex screws from the computer case using a 2.5mm wrench.
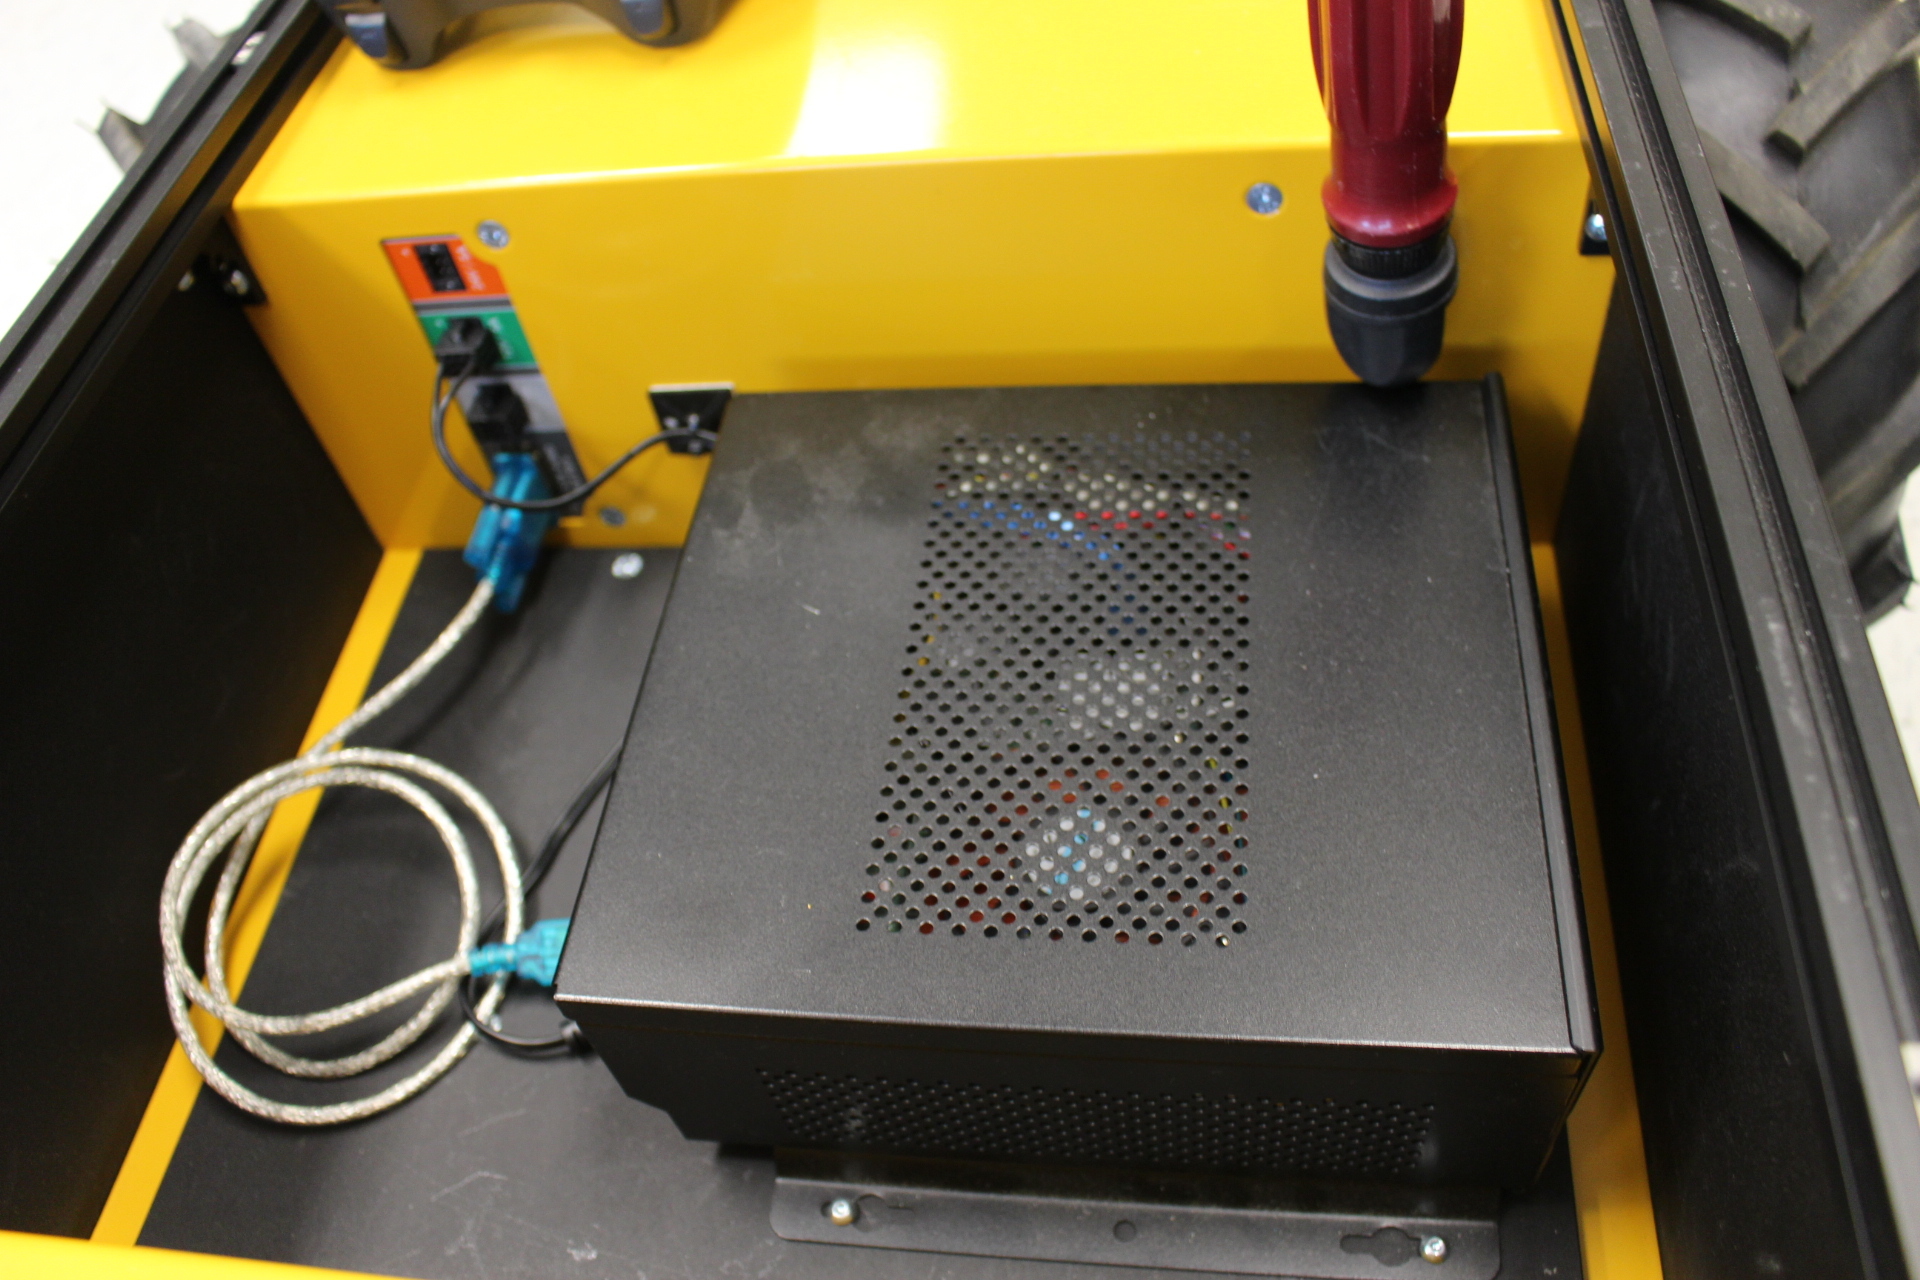
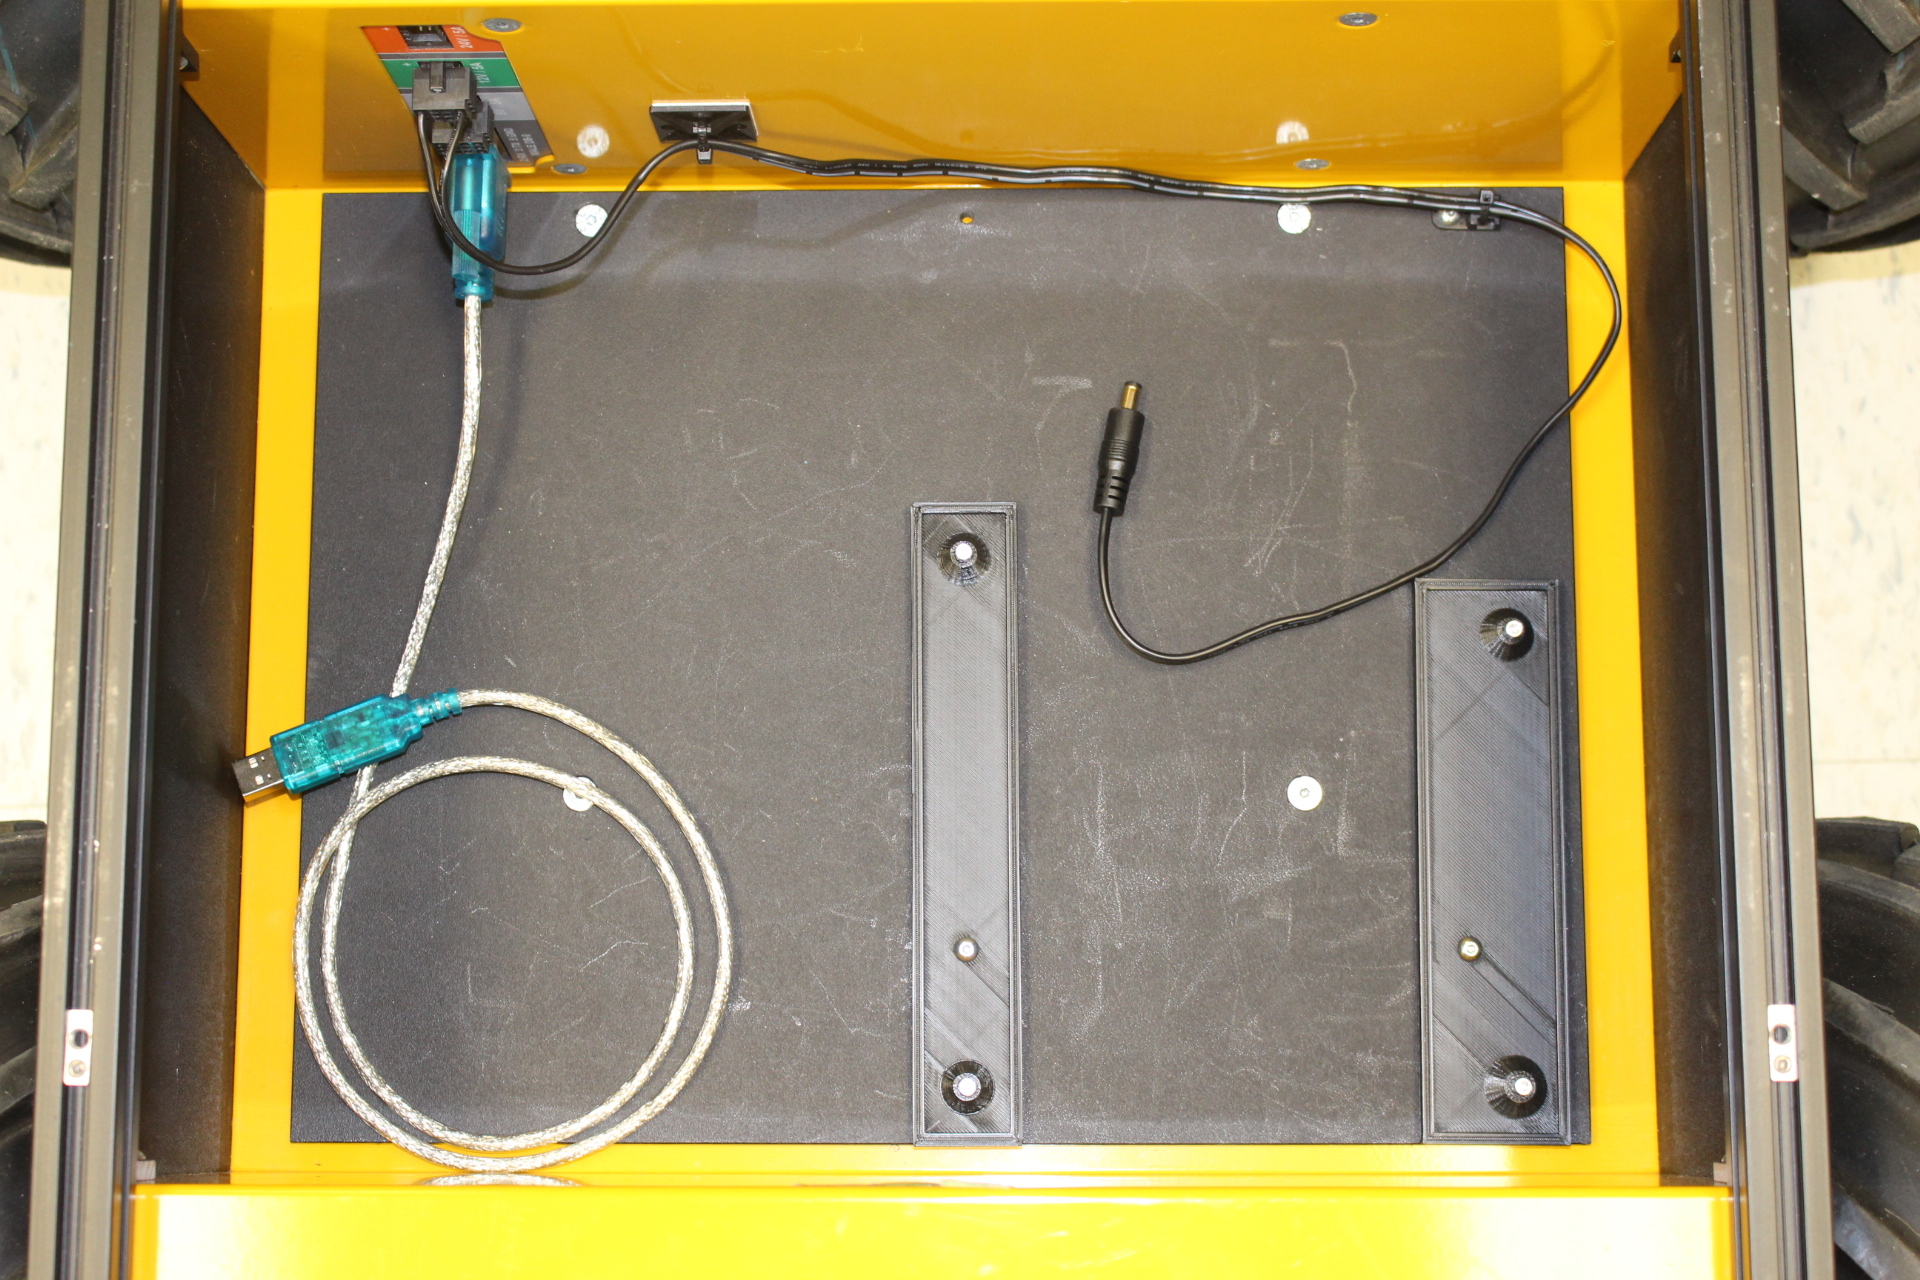
Gently lift the computer out of the platform and clean the area.

Step 2: Install the TX2
Custom mounting brackets are available on Github
Download and 3D print the mounts. A 0.2mm layer thickness should be sufficient.
Using M3 bolts, attach the plates inside the Husky platform. On the plates, add 4 M3 stand-offs to the board mount points. A 6mm height is recommended.
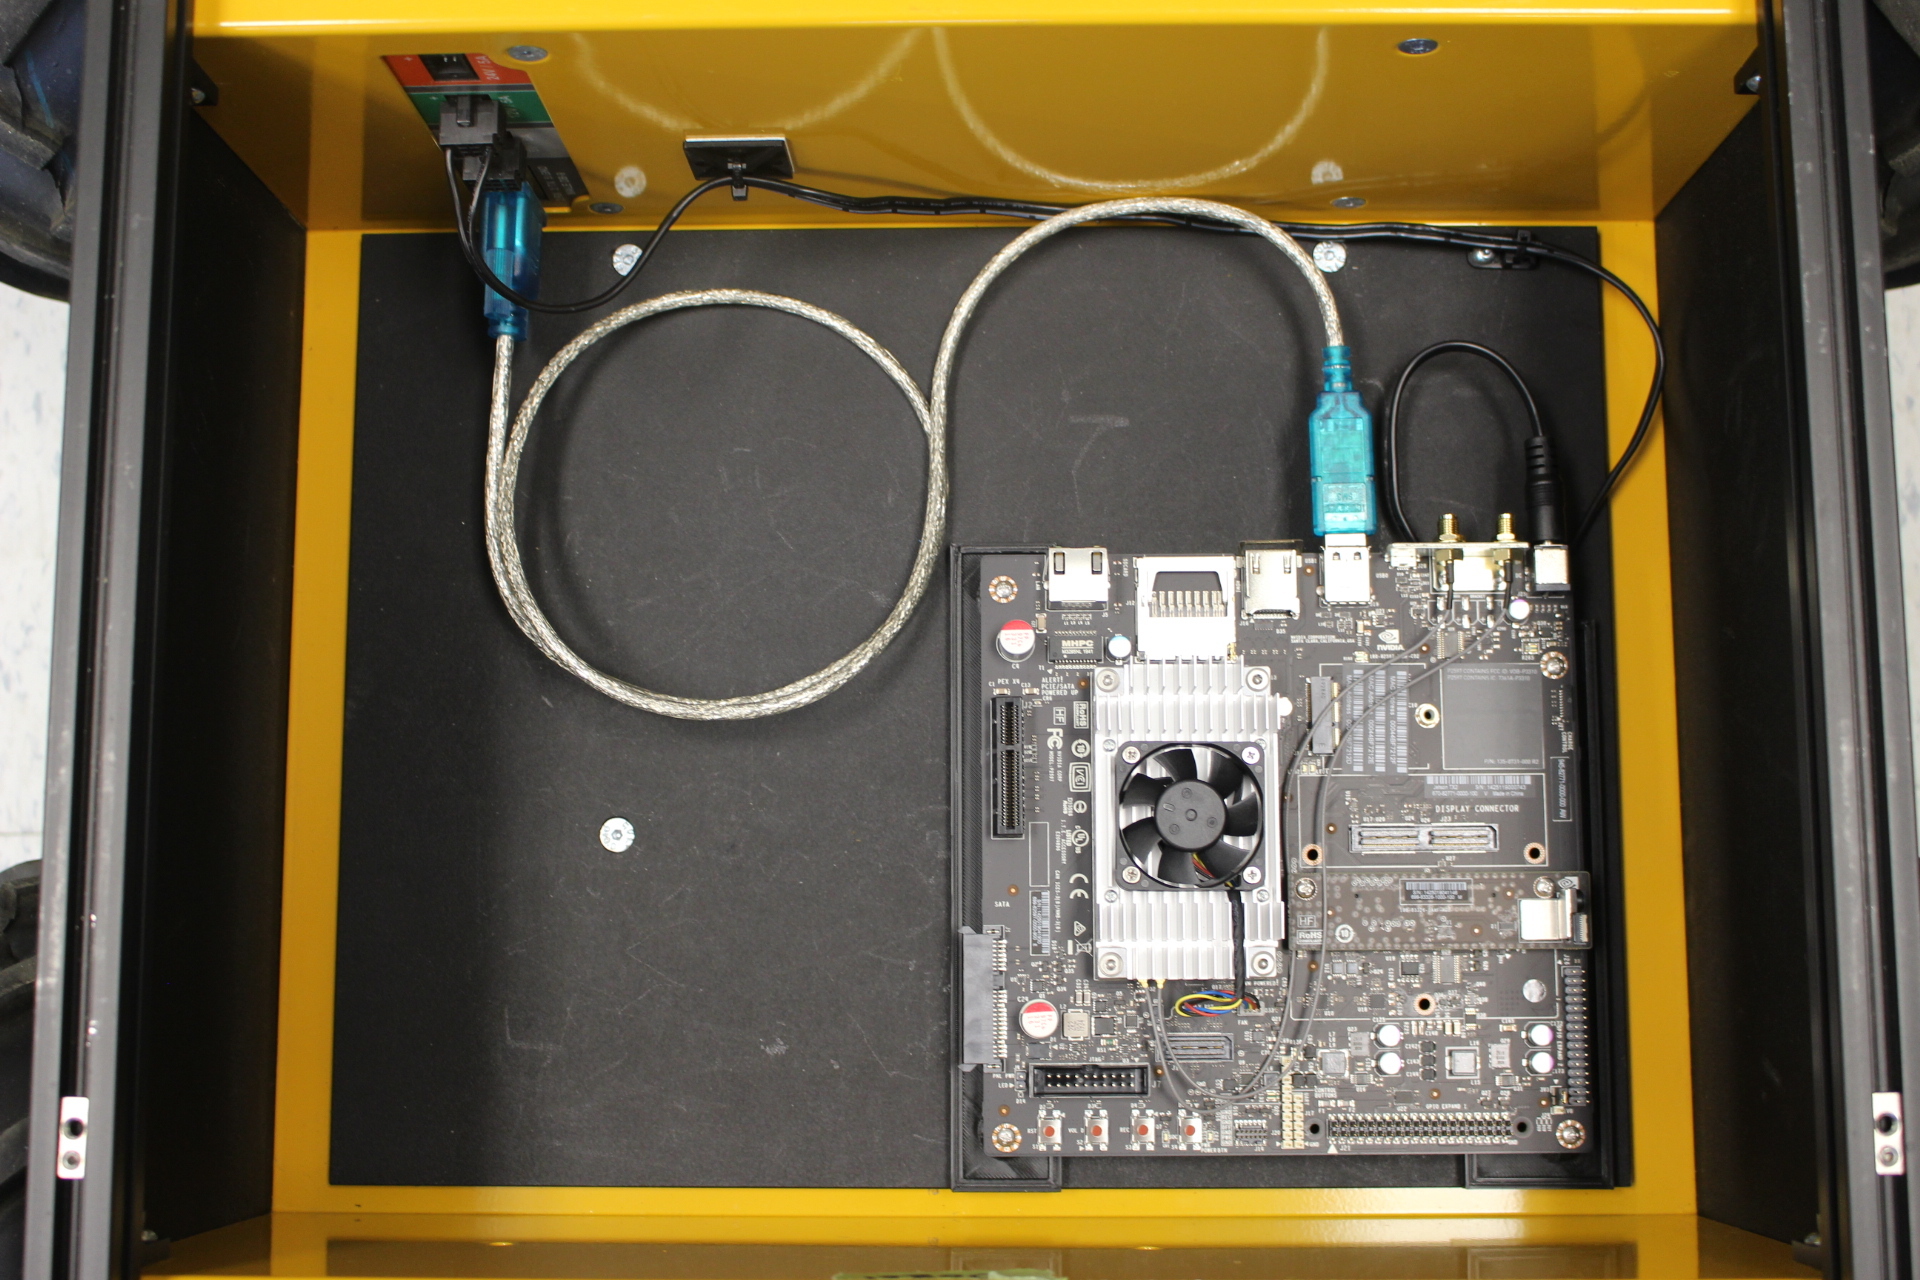
Once the mounts are installed, attach the TX2 onto the mounts using M3 bolts.
Take the power cable that powered the ITX computer and plug it into the TX2. Then, attach the serial communication cable to the USB port on the TX2. If you have multiple USB peripherals on the robot, you may need to use a USB hub.
Step 3: Installing the software
On a Ubuntu machine download jetpack 3.3.
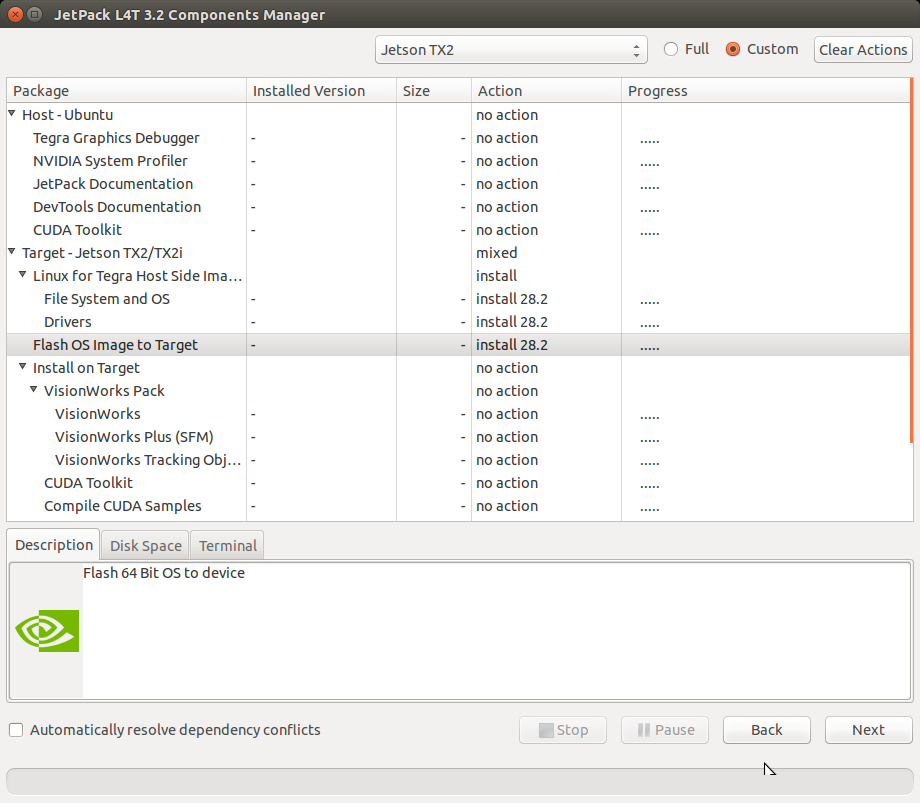
Follow the installation instructions from Nvidia to start the installer. Install at least the Linux for Tegra Host Side Image Setup.
Download the TX2 image and place it into “{install directory}/64_TX2/Linux_for_Tegra_tx2/”. Open a terminal and navigate to “{install directory}/64_TX2/Linux_for_Tegra_tx2/”. Use pbzip2 to decompress the image. “pbzip2 -d {image name}.img.bz2”. Pbzip2 is the parallel version of bzip2. Unziping can take some time.
Caution: you will need 32 GB of free space for the image. Copy the uncompressed image and rename it to “bootloader/system.img”.
Note
To verify the download, below are the MD5 sums of the download and the extracted image:
10bd148c346f8be4b02218e301b6dc4d - TX2_28.2.1.img.raw.bz2
f4efc8b1a65a8d5f9465d4521188dd5e - TX2_28.2.1.img.raw
Connect to the TX2 with a micro USB cable to the USB0 port. Power the TX2 either by turning on the Husky or using the included power supply Next put the TX2 into recovery mode.
Make sure the TX2 is powered off
Press and hold the REC button
Press the power button.
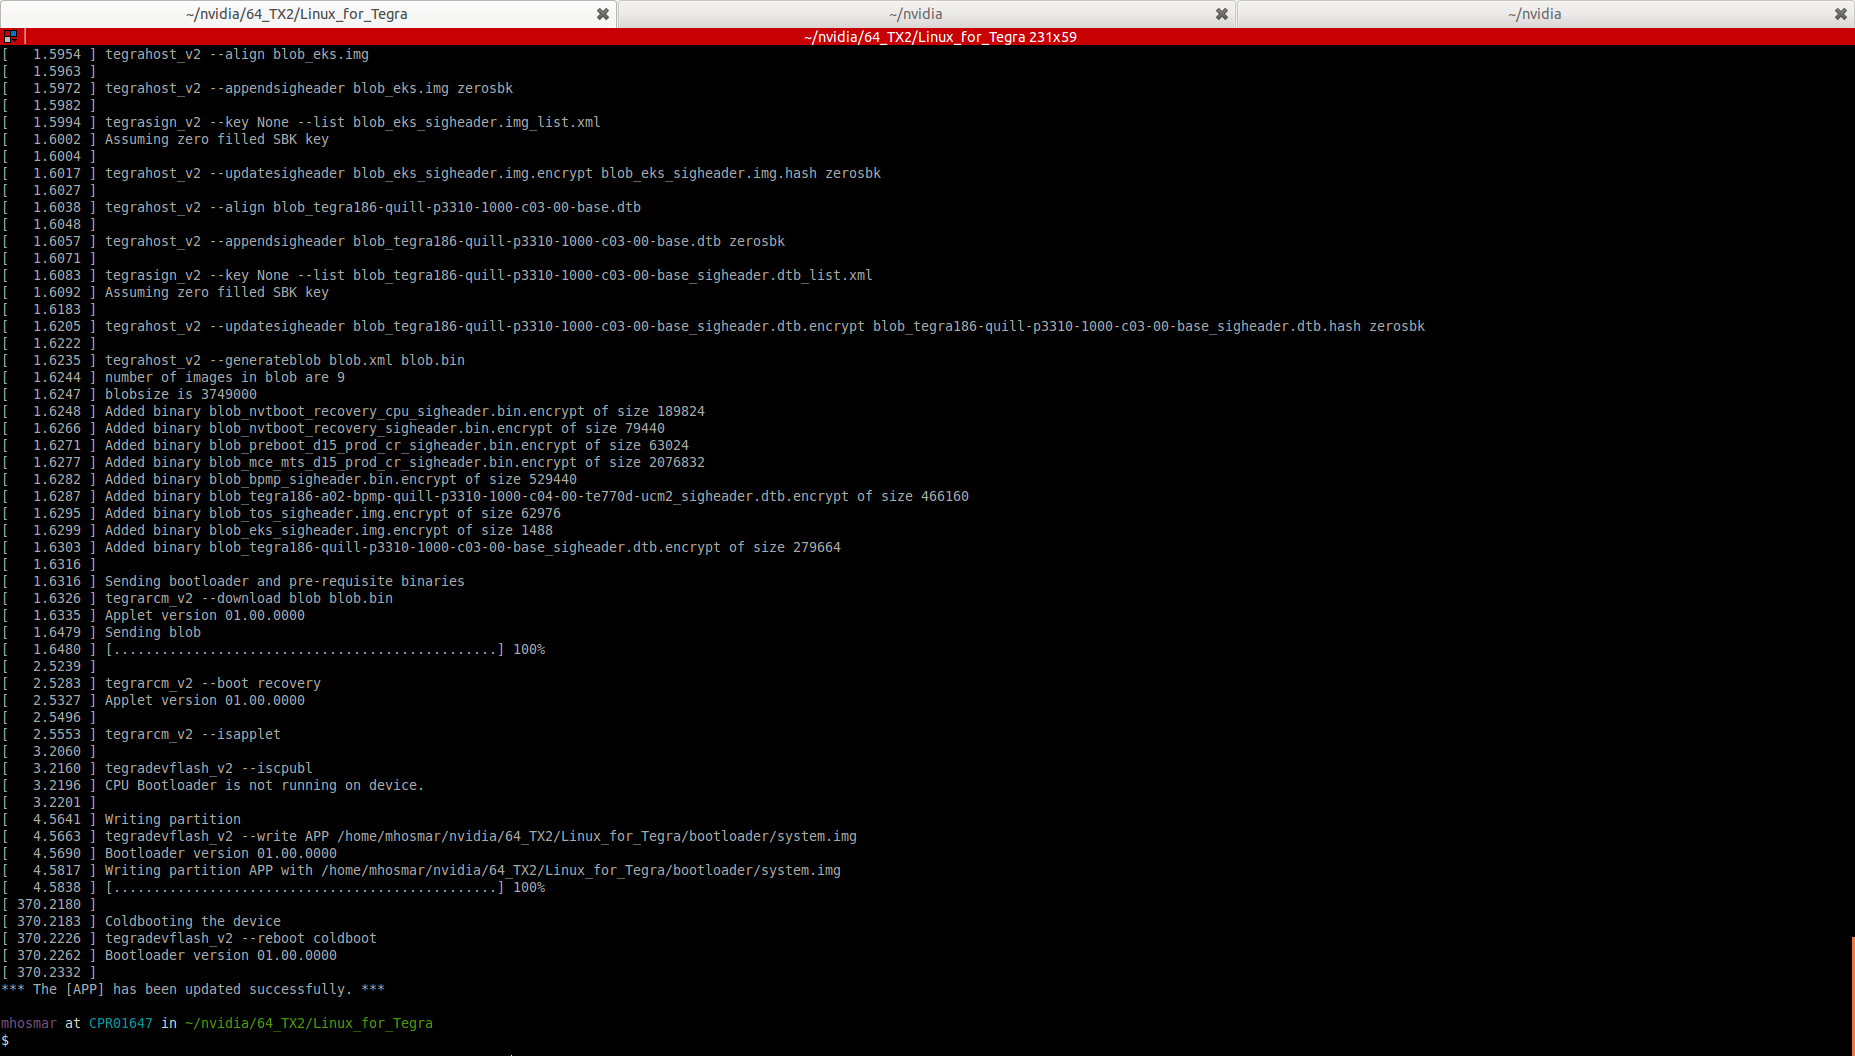
Then run sudo ./flash.sh -r -k APP jetson-tx2 mmcblk0p1 on the host computer. this will copy the image file to the device. This is over USB2.0 so it will take some time.
The TX2 will reboot and will have ROS Kinetic installed along with the Husky drivers.
Note
Since this image was created, the ROS buildfarm has changed their package-signing key. You will need to add the new one with:
sudo apt-key adv --keyserver 'hkp://keyserver.ubuntu.com:80' --recv-key C1CF6E31E6BADE8868B172B4F42ED6FBAB17C654
To setup the Jetson to work with the Husky, run bash ~/JACKAL_SETUP.sh on the Jetson and restart. When the Jetson starts up again, it should be connected to the Husky. To see that the Husky is connected by opening a terminal and executing “rostopic echo /status”. You should see a 1hz message containing the Husky’s diagnostic information.
If you would like to pair a PS4 controller to drive the Husky, hold down the PS and Share buttons on the controller until the light bar starts to flash. In a terminal on the Husky, run sudo ds4drv-pair and wait for the controller to connect. With the controller paired you should be able to control the Husky by pressing L1 and using the left stick to drive. For more information see the Husky manual.
To use your host computer with the Husky first install ROS (http://wiki.ros.org/melodic/Installation) and setup a catkin workspace (http://wiki.ros.org/catkin/Tutorials/create_a_workspace). Clone the general Husky repo and the desktop specific repo in to the src folder and compile it. Installing rosdeps if necessary with “rosdep install –from-paths src –ignore-src -r -y”. Note the network ip of the TX2 and setup your host computer to use it as the master. http://wiki.ros.org/ROS/Tutorials/MultipleMachines
You can then run “roslaunch husky_viz view_robot.launch” on your host machine. You should see a model of the robot and be able to move the Husky using the interactive markers. See: https://clearpathrobotics.com/assets/guides/kinetic/husky/DrivingHusky.html