
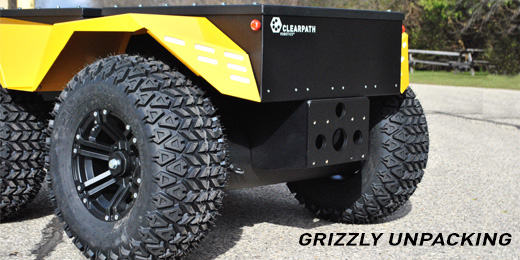
We’ve just shipped off another pack of Grizzly’s to some leading edge roboticists and we can’t wait to learn what they do with it! But first, they’ll have to open the crate to release the beast before driving forward with their field research. It’s a fairly simple process, but it’s important to open with care to make sure people and Grizzly stay safe. Here are some quick tips and a How-To Video to open the Grizzly crate easily and efficiently.
Do you have all the tools handy?
Before you start, we recommend that you some materials on hand so your crate-opening-experience runs smoothly and efficiently. Make sure you have a corded drill with a ¼” hex to ¼“ socket adaptor (or a pneumatic wrench or manual socket wrench, a step ladder or sturdy platform to reach the top of the crate, work gloves, and box cutters.
Start at the top
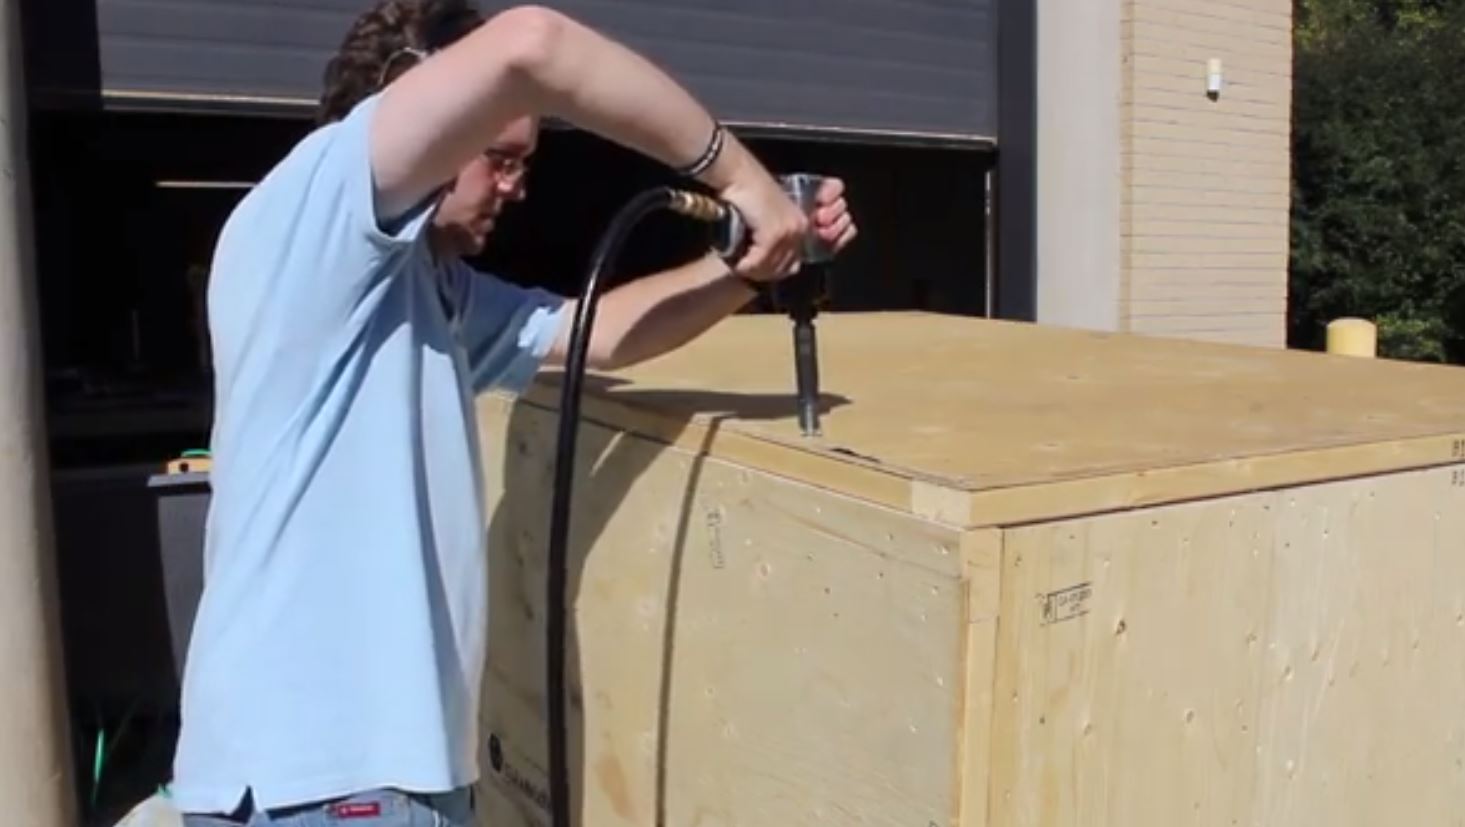
Top Removal with Drill
Undo the bolts at the top of the crate first. Loosen them by hand with the socket wrench or use your power tool of choice to speed up unpacking time. Once all of the bolts on the top of the crate are removed, grab a friend, throw on the work gloves and remove the top of the crate together by standing on either side of the crate and sliding the lid off the top. Do not try to drive Grizzly in or out of the crate with the top of the crate in place – it won’t work.
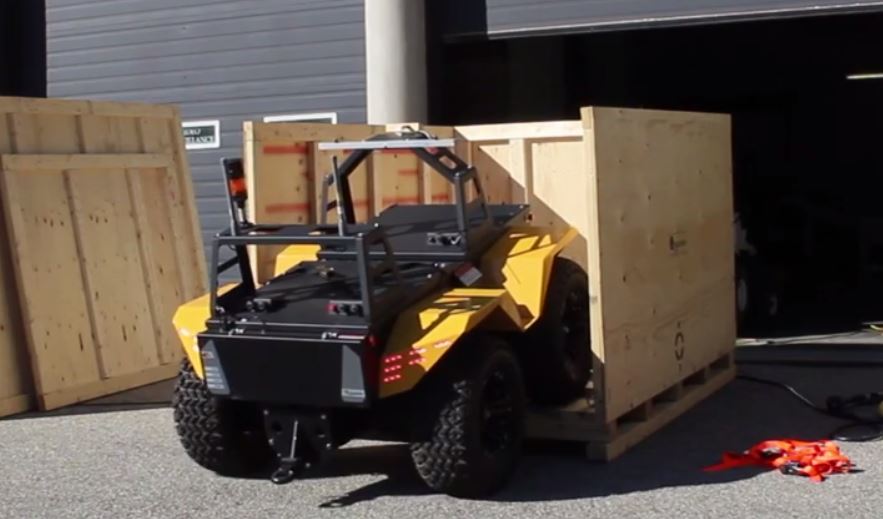
Next, remove the back
With the top removed, unbolt the back side of the crate. Find the side that is labeled “back” and start with unbolting the bottom of that side. When unbolting the final bolts on the back, make sure one person is holding the back to prevent it from shaking or falling. When the back of the crate is removed, move it out of the way.
Almost there!
There it is – Grizzly is in its crate! Squeeze past the vehicle to retrieve the sensor box inside the crate (depending on the sensors you chose it might’ve been shipped separately). Be sure to store the sensor box in a safe place. Now undo the ratchet straps on each wheel. Release the straps fully and remove them from the crate before moving to the next step.
Open the sensor box
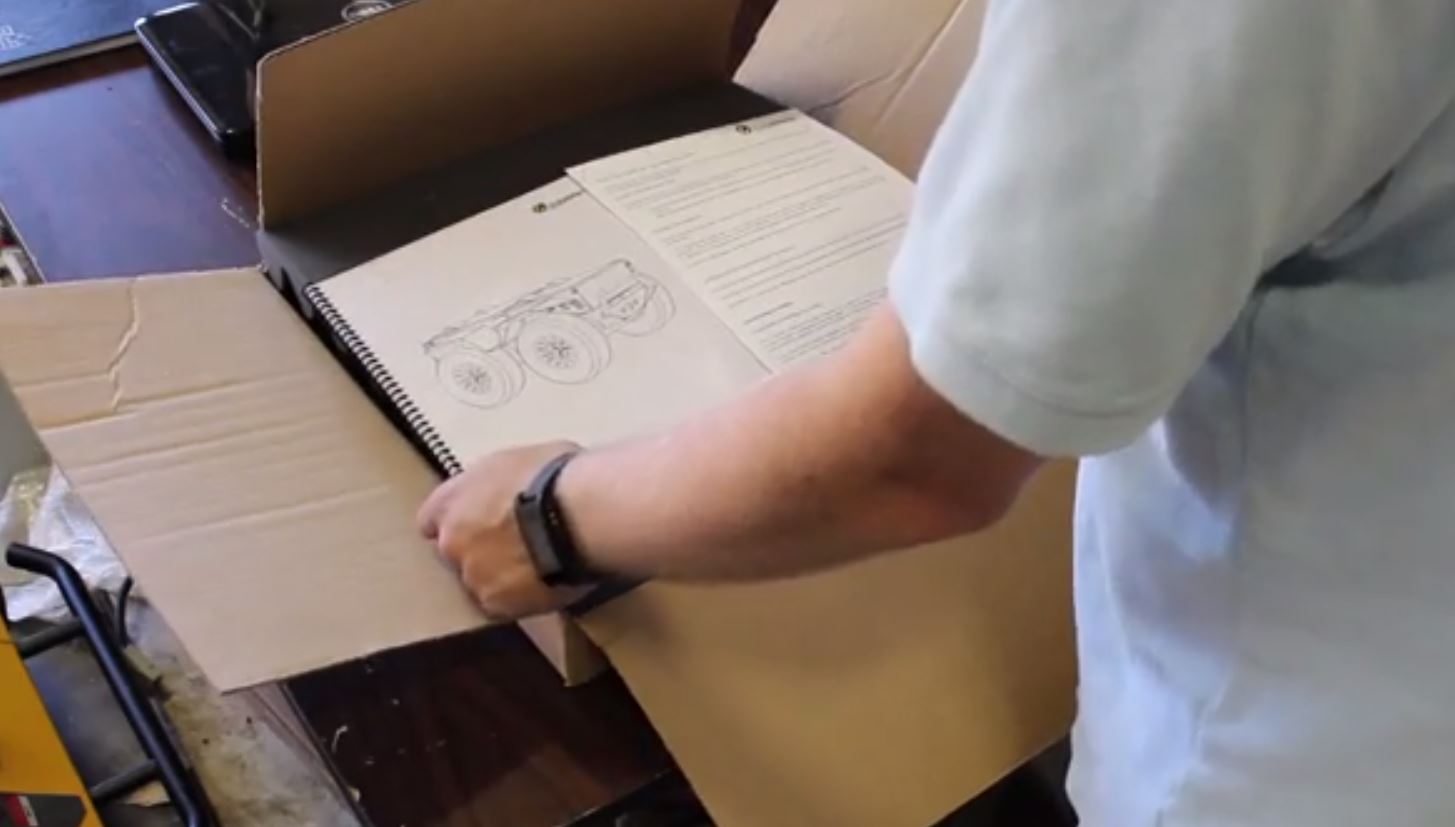 Before driving Grizzly out of the crate, open the sensor box – it includes the user manual, Robotsmith’s Memo, keys to the Grizzly, a remote control, antennas, safety lights and other sensors and accessories that you may have ordered. Note that larger payloads may have been shipped separately due to the constraints of the crate. If installation of payloads is required, please consult the Robotsmith’s memo.
To drive Grizzly, you’ll need the keys, remote control, antennas and safety light. But first, please read the safety instructions in the user manual.
Final adjustments and attachments
Before Grizzly can drive, the antennas and safety light must be attached. Undo the nut on the bottom of the mast, fit the antenna in the designated mounting hole on the sensor mast, then screw the nut back onto the thread securely. Finally, connect the cables to the antennas. The safety light will easily attach to its mounting point. Simply place the light over the mount, line up the slots, allow it to slip down and twist.
Power it up!
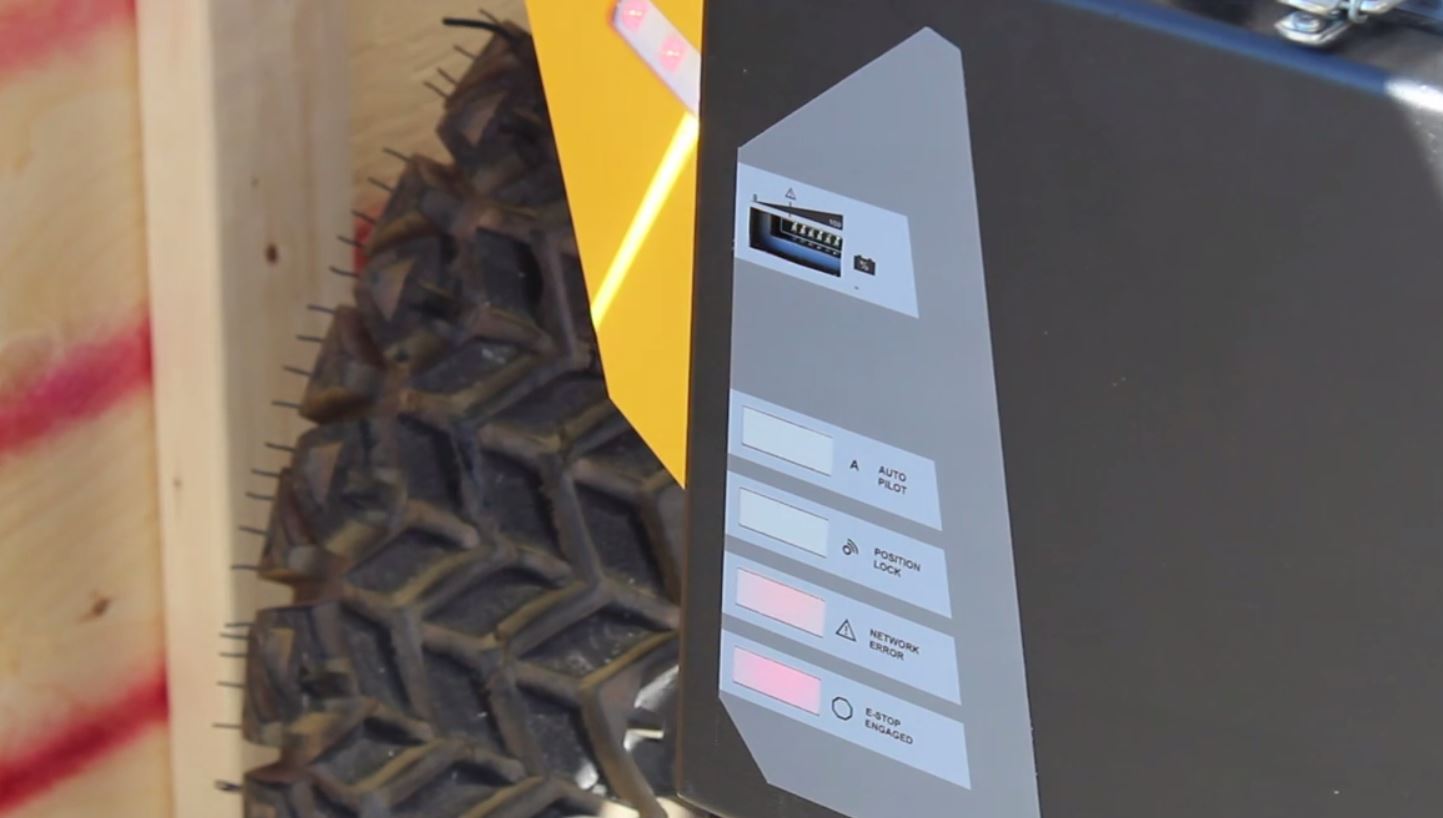
Network Light
Grab the key and insert it into the key slot at the rear of the vehicle on the side with the indicator lights. Twist the key to the “ON” position and leave it for 2 seconds, then twist the key to the “RUN” position. A couple indicator lights will flash for about 30 seconds: “E-STOP ENGAGED” and “NETWORK ERROR.” After the 30 seconds the E-STOP ENGAGED light will turn solid and the NETWORK ERROR light will turn off.
Next, press the square “E-STOP RESET” button located right above the key slot so the E-STOP ENGAGED light turn off. If the light does not turn off, make sure that all four of the e-stops are disengaged. To disengage the e-stop, simply twist the button in the direction indicated by the “reset” arrow so the button pops out.
Drive forward
Drive Grizzly out of the box!
The moment you’ve been waiting for! To drive Grizzly, connect the controller to the vehicle by pressing the concave button in the center of the controller and wait a couple of seconds – the controller will connect.
Next, press the trigger button (the large button under the controller) and lightly pull back on the controller’s thumbstick. Grizzly will make two short beeps and flash its headlights, and then –wait for it – start driving.
For the visual learners
Check out this short How-To video of unpacking Grizzly.
For any inquiries or support questions, please feel free to contact our team or phone our robot experts. Thanks and enjoy!